The Big Procedural Easy
I took it easy today, so I was barely near the computer, but I did make some awesome progress.
Last night, I was able to finally get a prototype of my texture caching setup going.
Diffusing the Procedural Situation Using Bad Puns
Right now, it’s a command-line tool that does the following:
- Loads up a mesh and UV atlases it to get unique texture coordinates for the entire mesh (similar to what you’d do for lightmapping
- Loads a D3DX effect
- Renders the mesh into the a render target, using the UV atlas texcoords as position, using the actual model’s position/normal as shader inputs to generate the noise
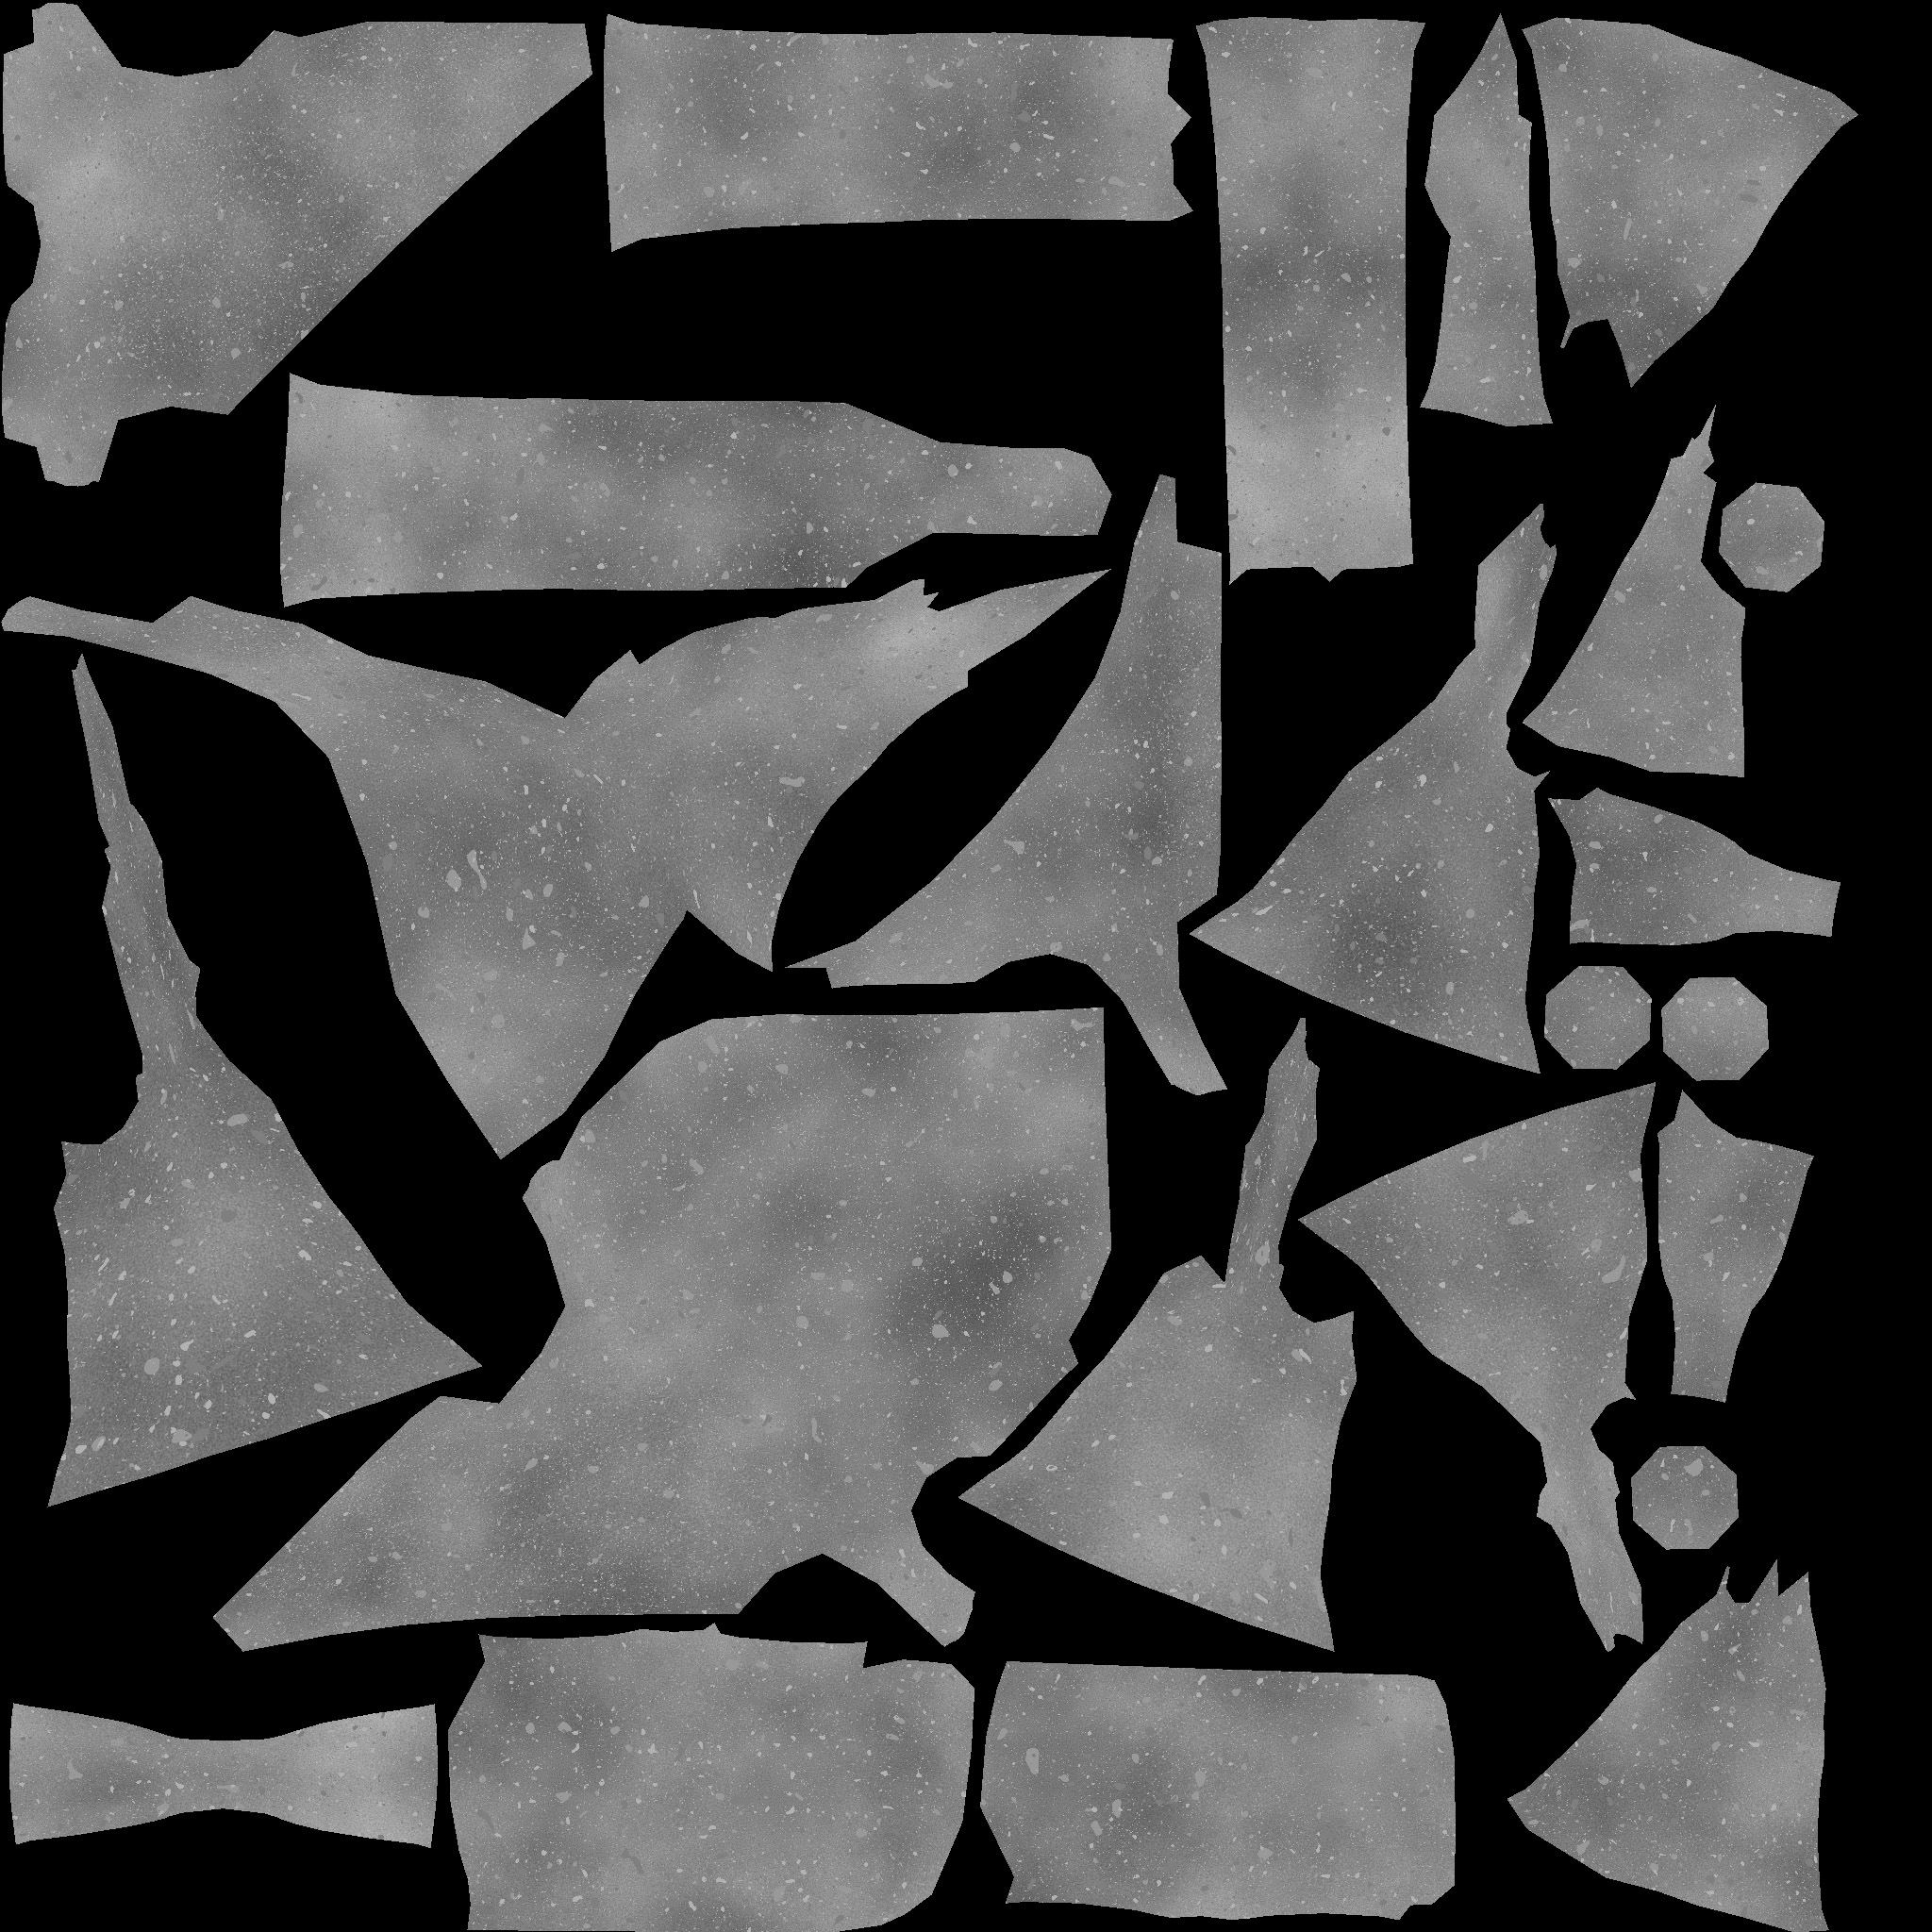
- Writes both the UV atlased mesh and the rendered texture to file
Simple enough. What I ended up with was as follows:
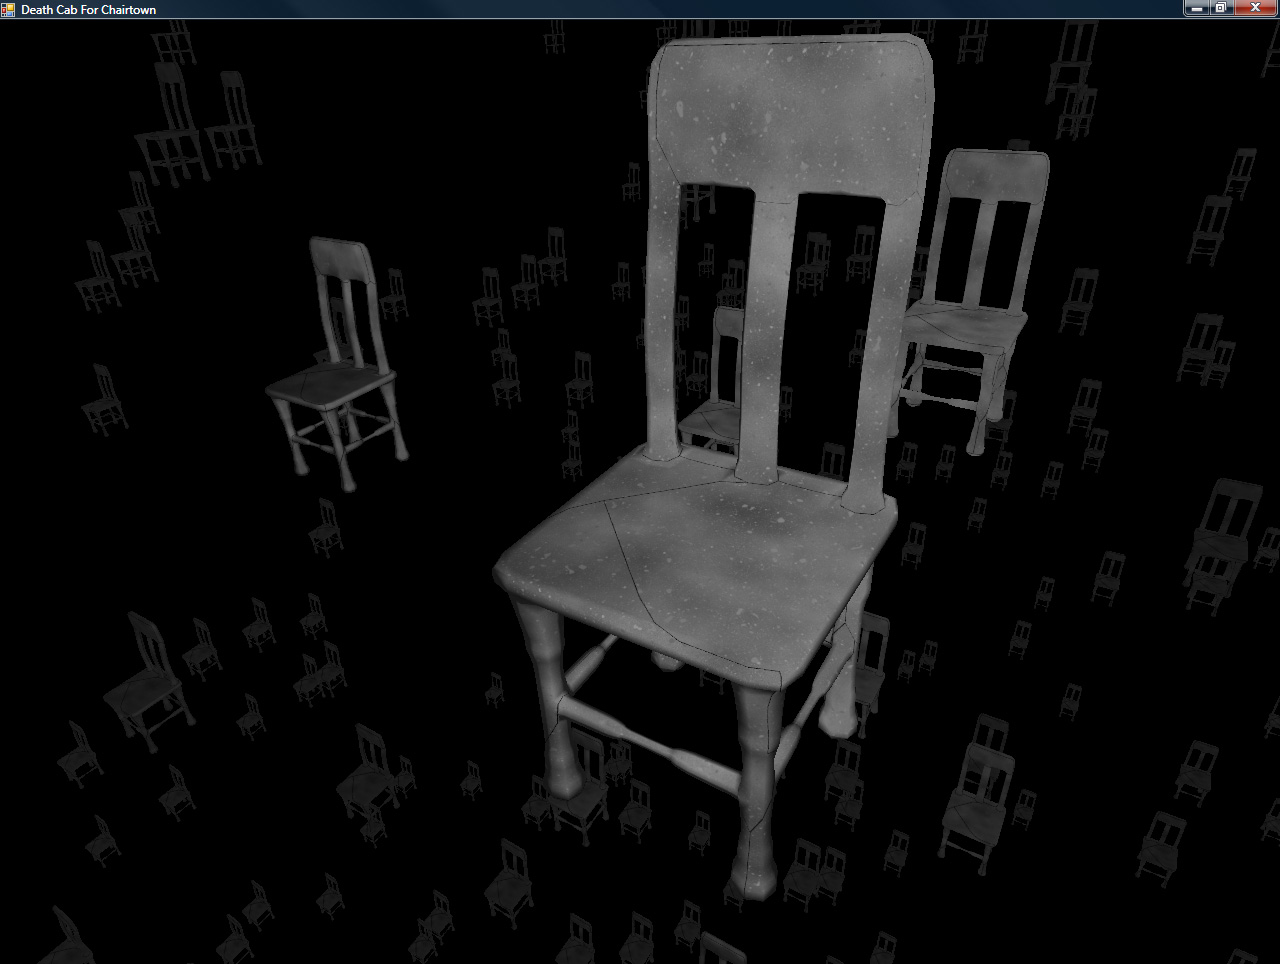
Not bad, but for two things:
- No normal mapping (per-vertex normals only)
- Cracks along the seams of the UV maps.
Both are solvable problems, and I opted to tackle the normal mapping first.
Returning to Normalcy
How does one generate a normal map with a procedural function?
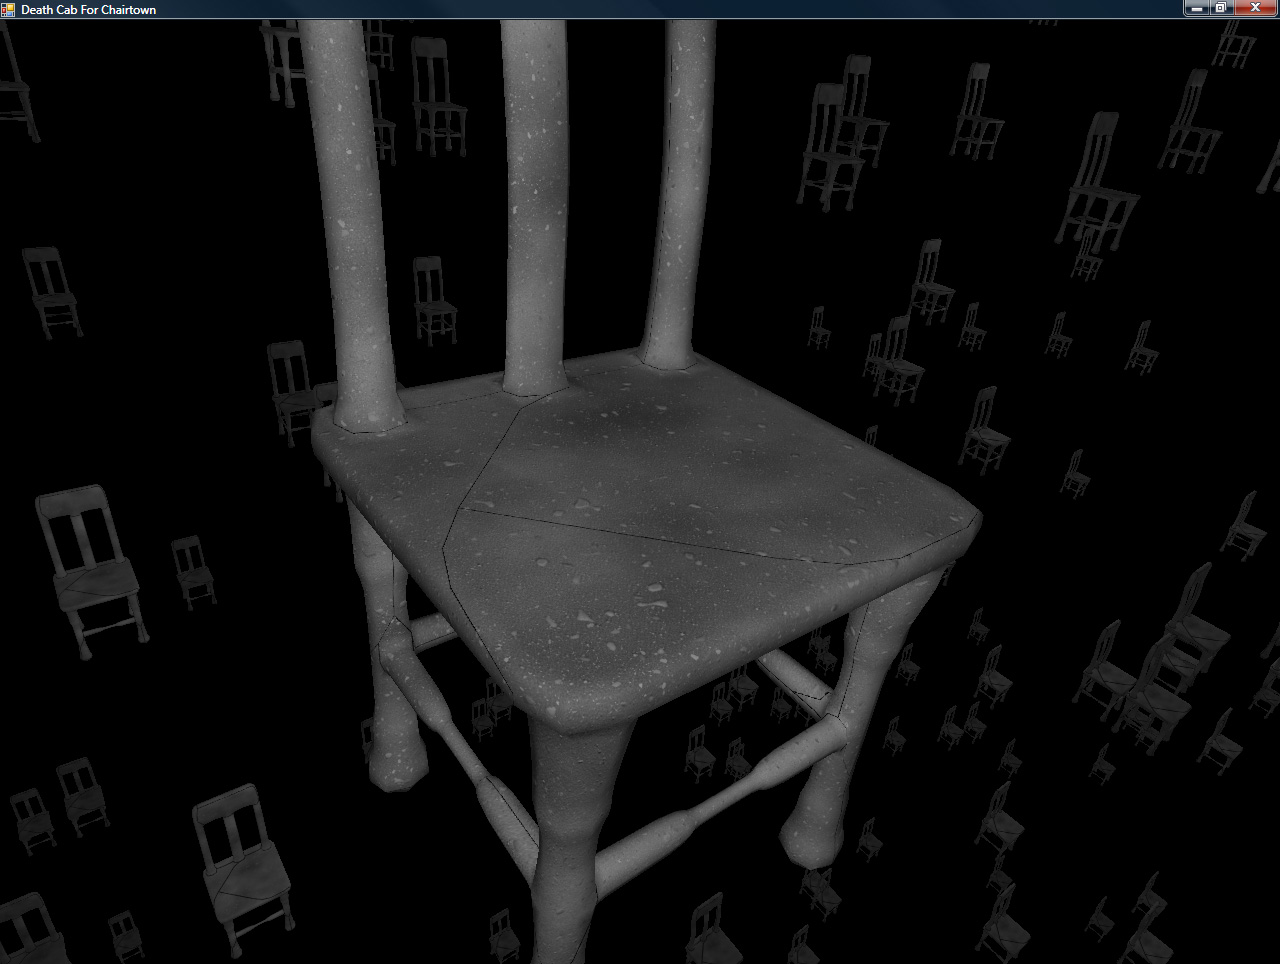
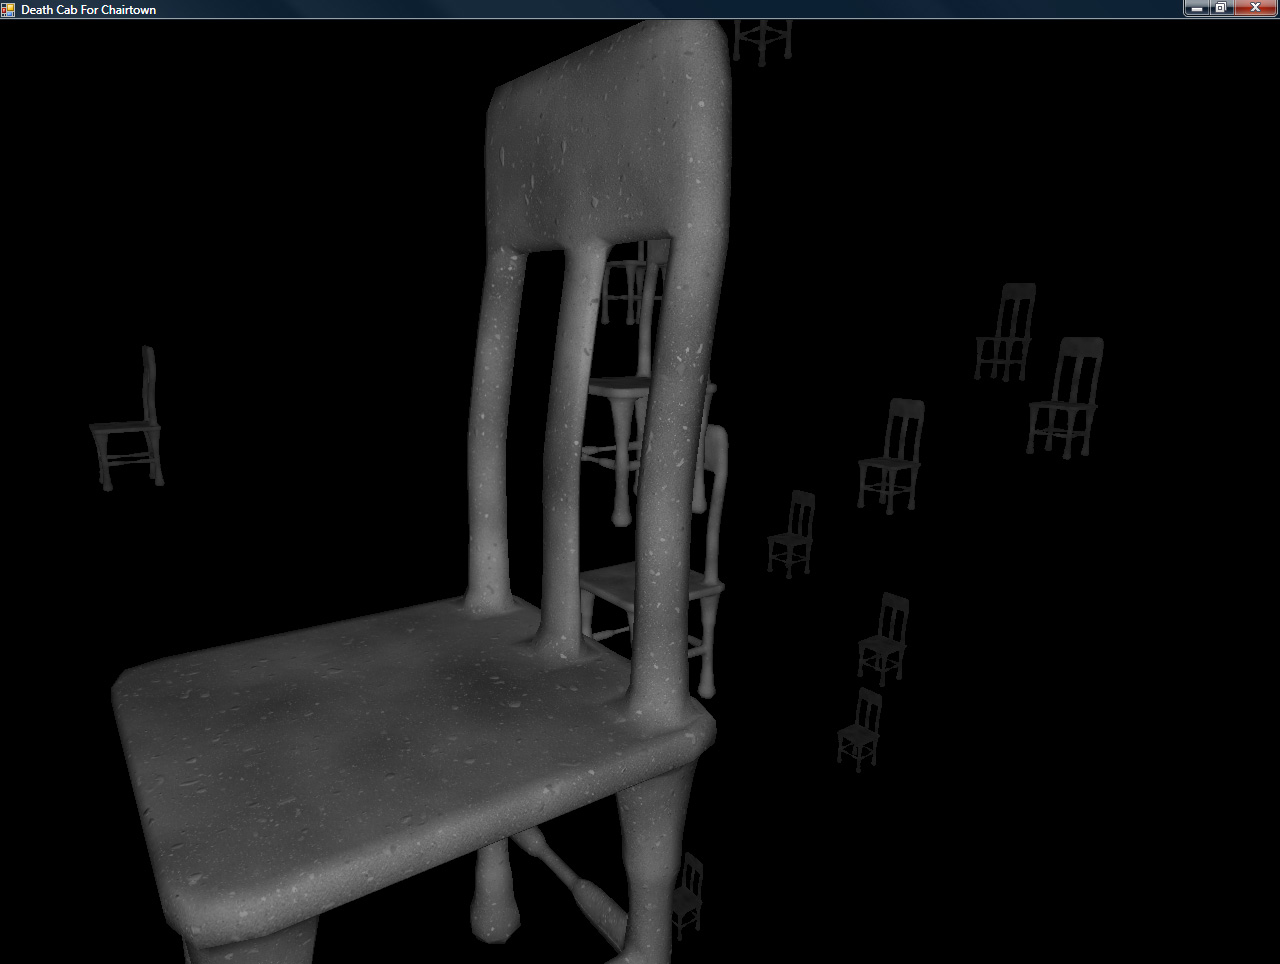
In my case, I have the procedural function not only generate a color but a height. Generating three heights in close proximity (using (pos), (pos+tangent*scaler), (pos+bitangent*scaler)) gives me two edges which I can take the cross-product of to get a pixel normal map. Adding this gave me some better shading (but didn’t fix the cracks):
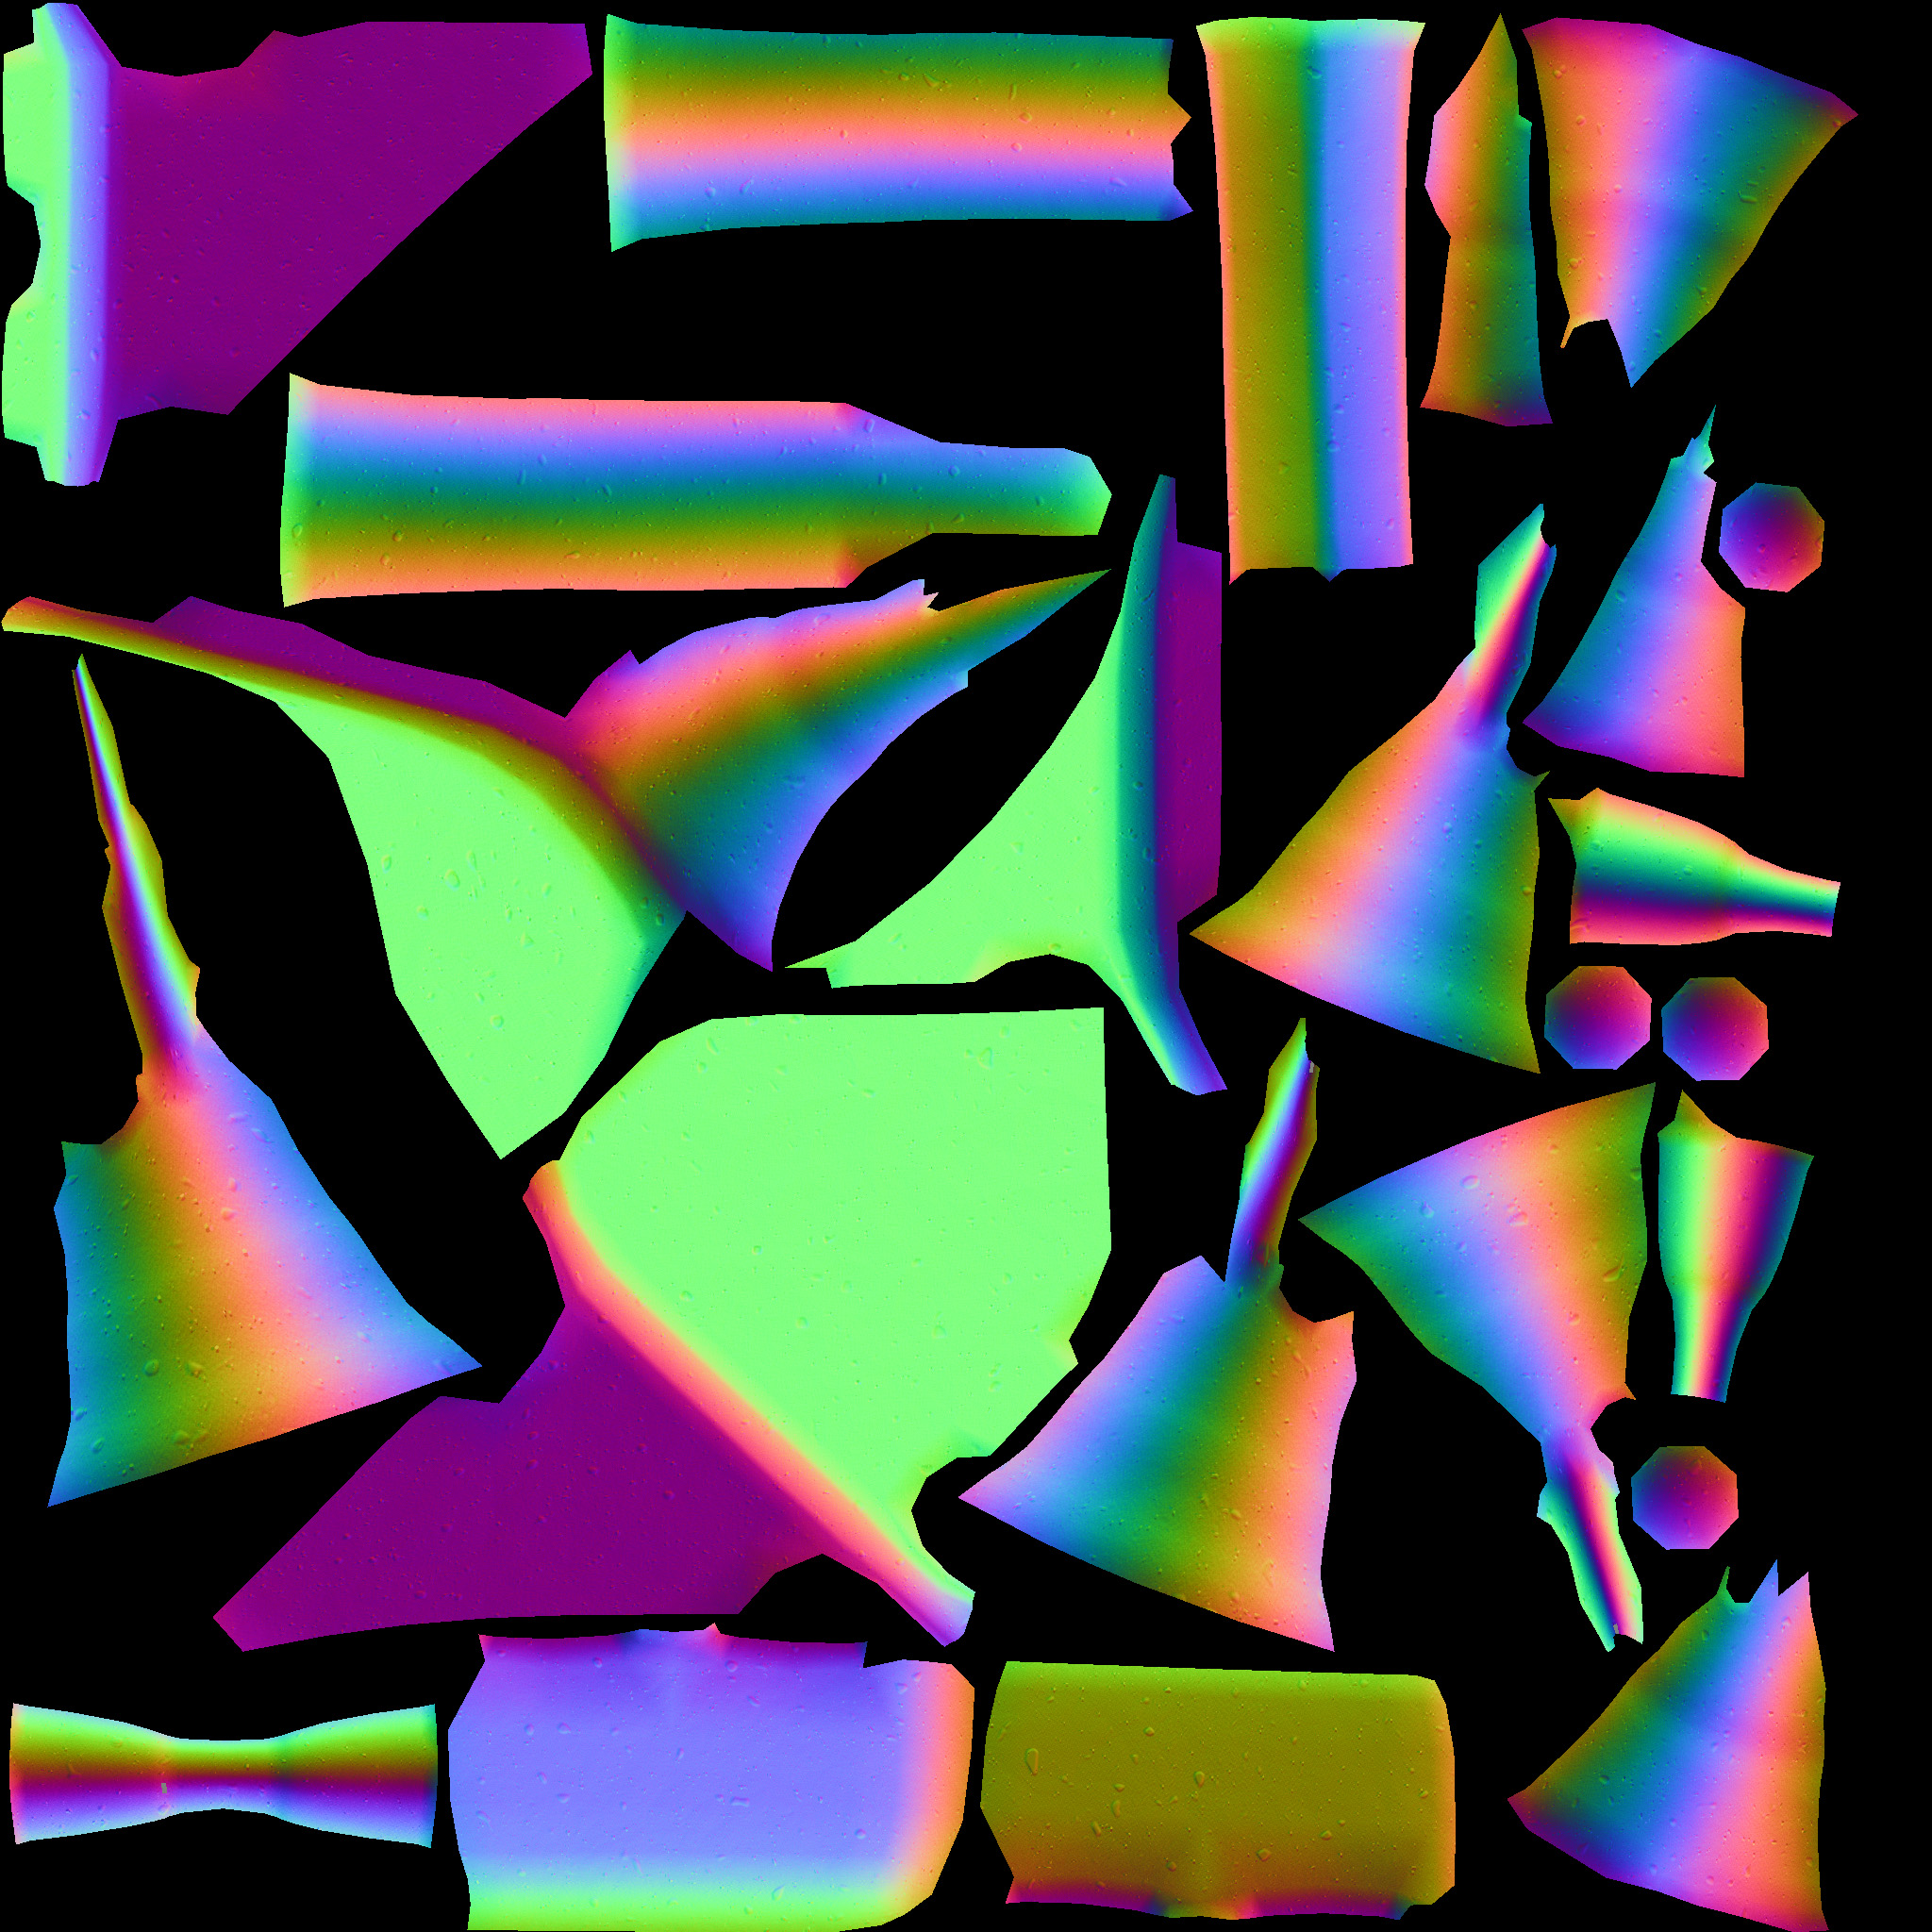
The normal map generated is in object space (though it could easily be in world space, assuming a static object). This simplifies the lighting code (I simply transform the light position by the inverse world matrix before passing it to the shader) and eliminates the need for tangent and bitangent (yes, bitangent, not “binormal”) vectors.
Cracks are Unappealing on Plumbers AND Procedurally-Textured Models
Finally, it was time to solve the cracking problem. I decided to solve it by using skirts around the edges of the UV map sections. Essentially, they’re degenerate textures in the actual mesh (the positions are the same), but the UV coordinates are expanded to fill in some of the gapping.
Basically:
- Use your favorite method to get a list of edges that are only used once
- Use these edges to generate “UV normals” for each vertex (which has two edges, one leading in and one leading out), which are basically ( perpendicular[(edge+edge2)/2] ).
- duplicate each vertex, move its UV coordinate some distance along this uv normal
- Create new strips of indices, using the old and new
- render these into the UV map first, before rendering the standard data
This basically puffs out each procedurally-generated area, as you can (maybe) see here (Easier to see at full size):
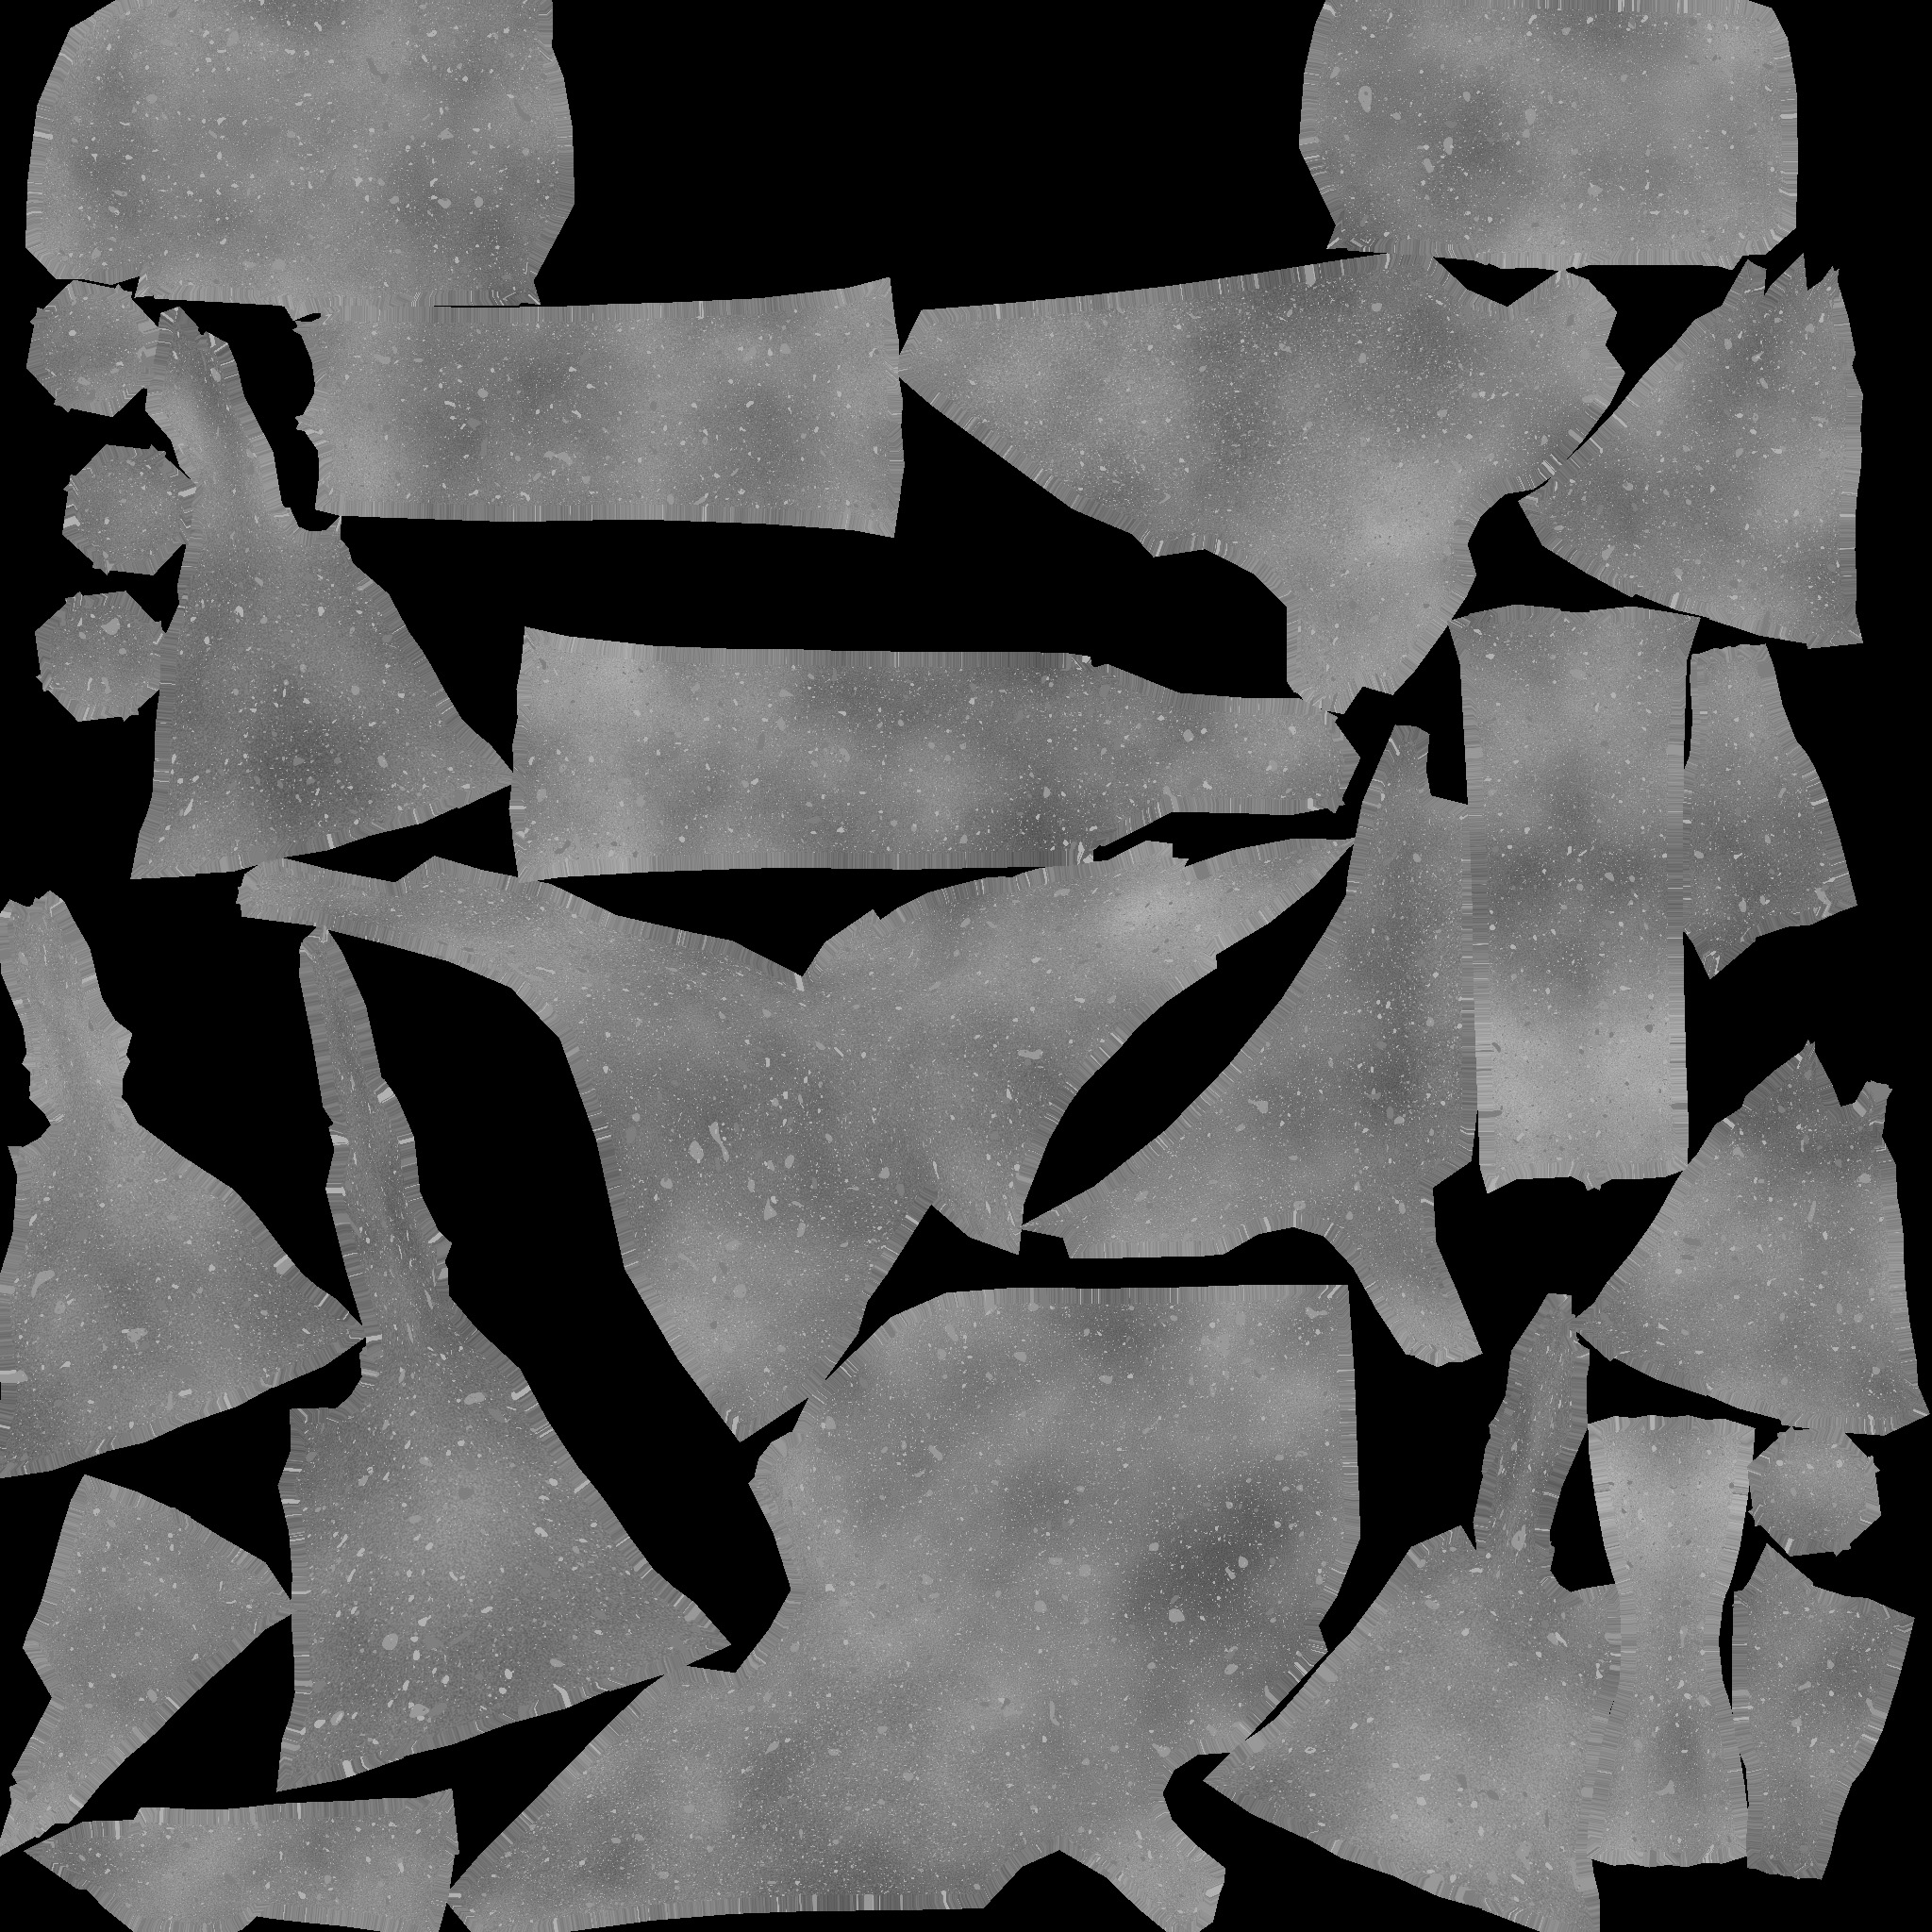
Thus, when the UV coordinates along the edges of these areas either go out of bounds or blend with the no-man’s-land around the texture, it blends with data that’s very close to what it’s near, hiding the cracks.
The result:
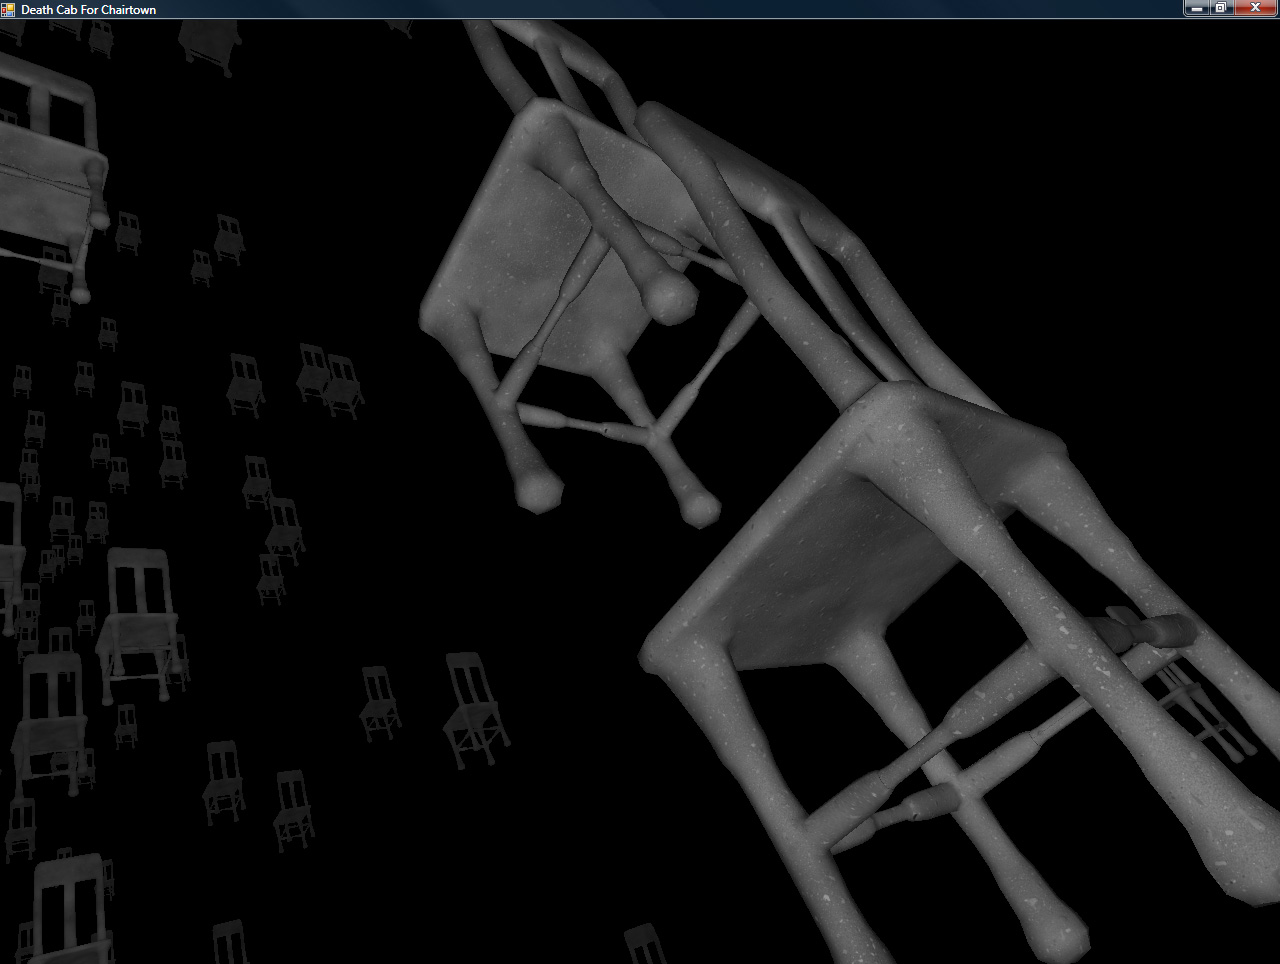
And that’s “all” there is to it!
The UV atlasifying and skirt generation will be a pre-process, so all of the vertex (mesh) data will be ready for immediate rendering into the texture after load.
Woot!