Update For The Past N Months
Yeesh.
It’s been a while.
What have I been up to since early June? Quite a bit. On the non-game-development side of things: work’s been rather busy (still). Also, I now own (and have made numerous improvements on) a house! So that’s been eating up time. But, that’s not (really) what this site is about.
(Procyon and texture generator devlog below the fold)
Invisible Changes
Much of my time working on Procyon recently has been spent doing changes deep in the codebase: things that, unfortunately, have absolutely no reflection in the user’s view of the product, but that make the code easier to work with or, more importantly, more capable of handling new things. For instance, enemies are now based on components as per an article on Cowboy Programming, making it super easy to create new enemy behaviors (and combinations of existing behaviors). It took quite a few days of work to do this, and when I was finished, the entire game looked and played exactly like it had before I started. However, the upside is that the average enemy is easier to create (or modify).
Graphical Enhancements
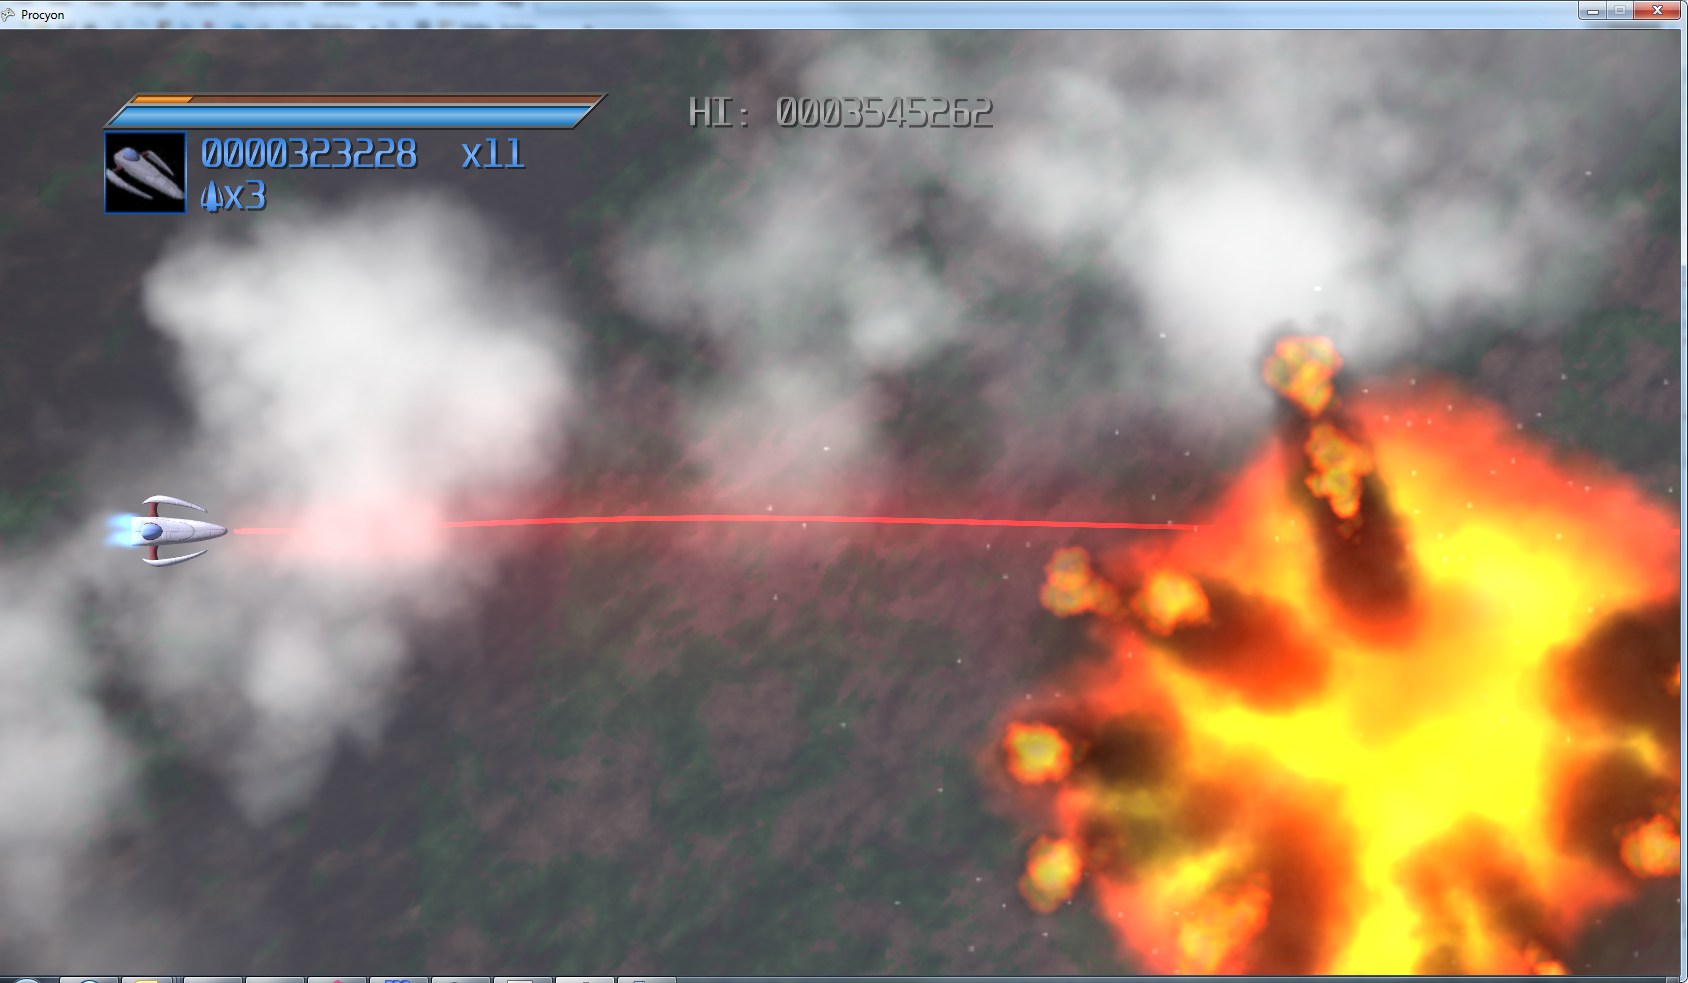
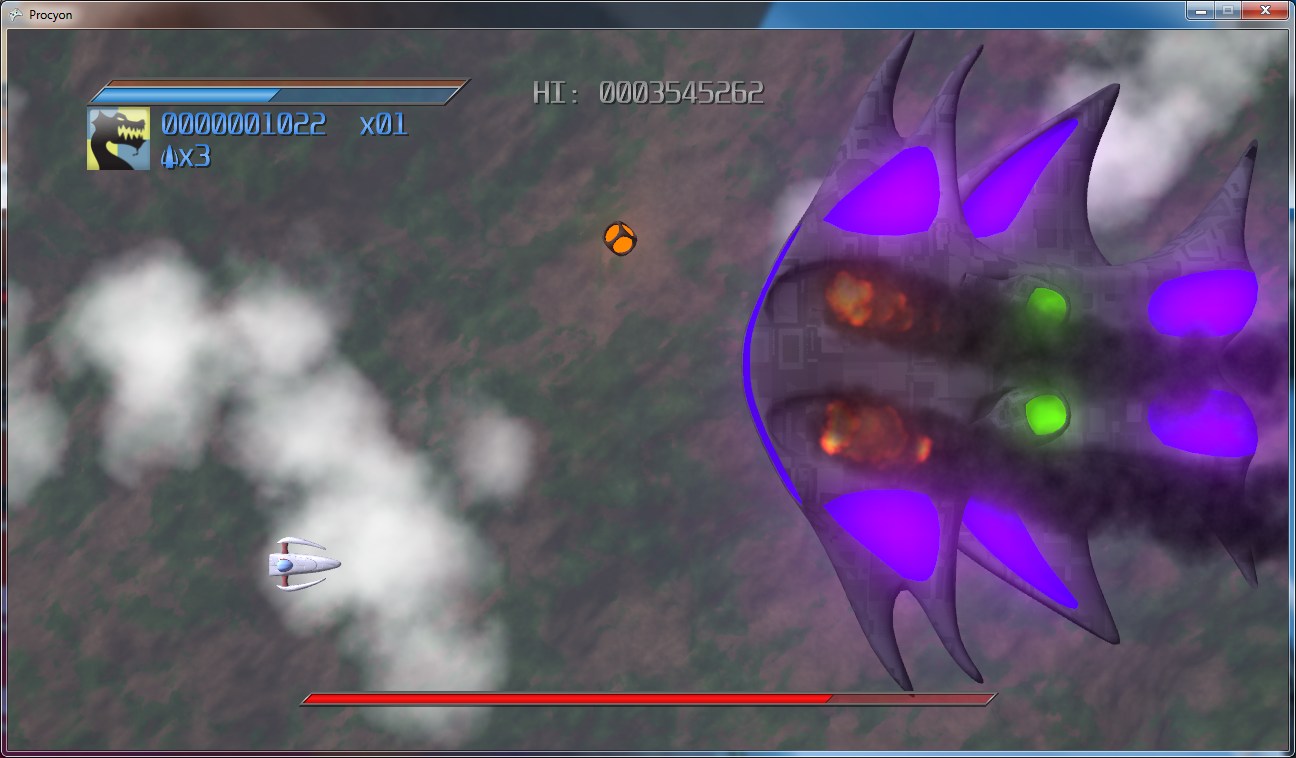
I’ve also made a few enhancements to the graphics. The big one is that I have a new particle system for fire-and-forget particles (i.e. particles that are not affected by game logic past their spawn time). It’s allowed me to add some some nice new explosion and smoke effects (among other things):
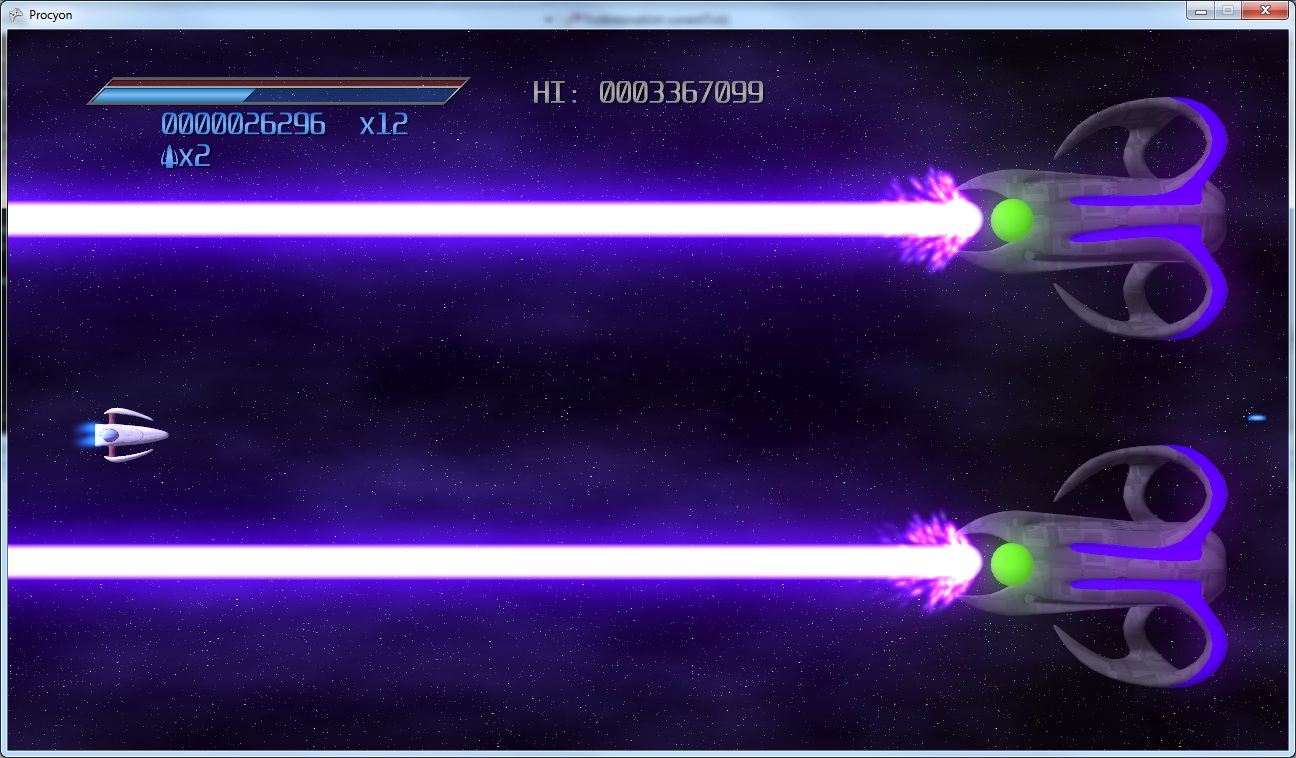
Also, I used them to add some particles at the origins of enemies firing beams:
Additionally, particles now render solely to an off-screen, lower-resolution buffer, which has allowed the game to run (thus far) at true 1080p on the Xbox 360.
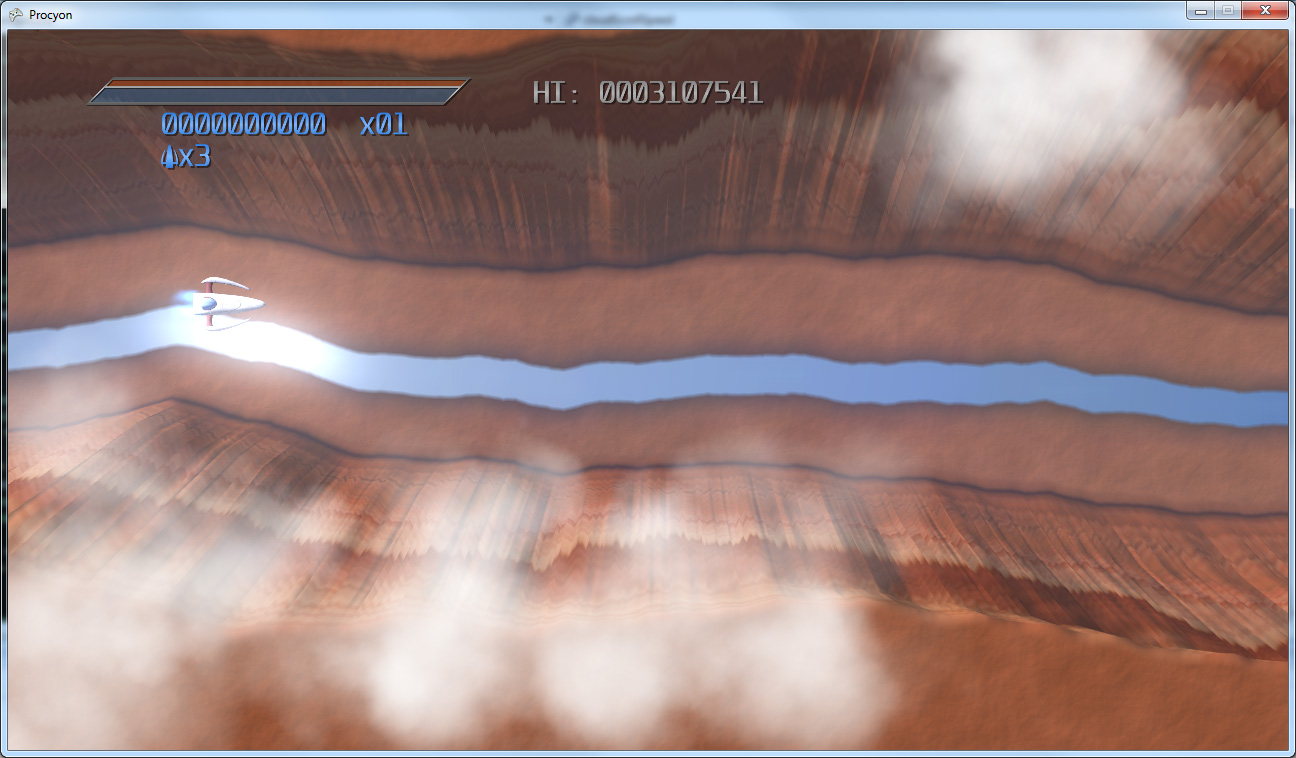
Also, I decided that the Level 1 background (in the first two images in this post) was hideously bland (if such a thing is possible), so I decided to redo it as flying over a red desert canyon (incidentally, the walls of the canyon are generated using the same basic divide-and-offset algorithm as my lightning bolt generator):
Texture + Generator = Texture Generator
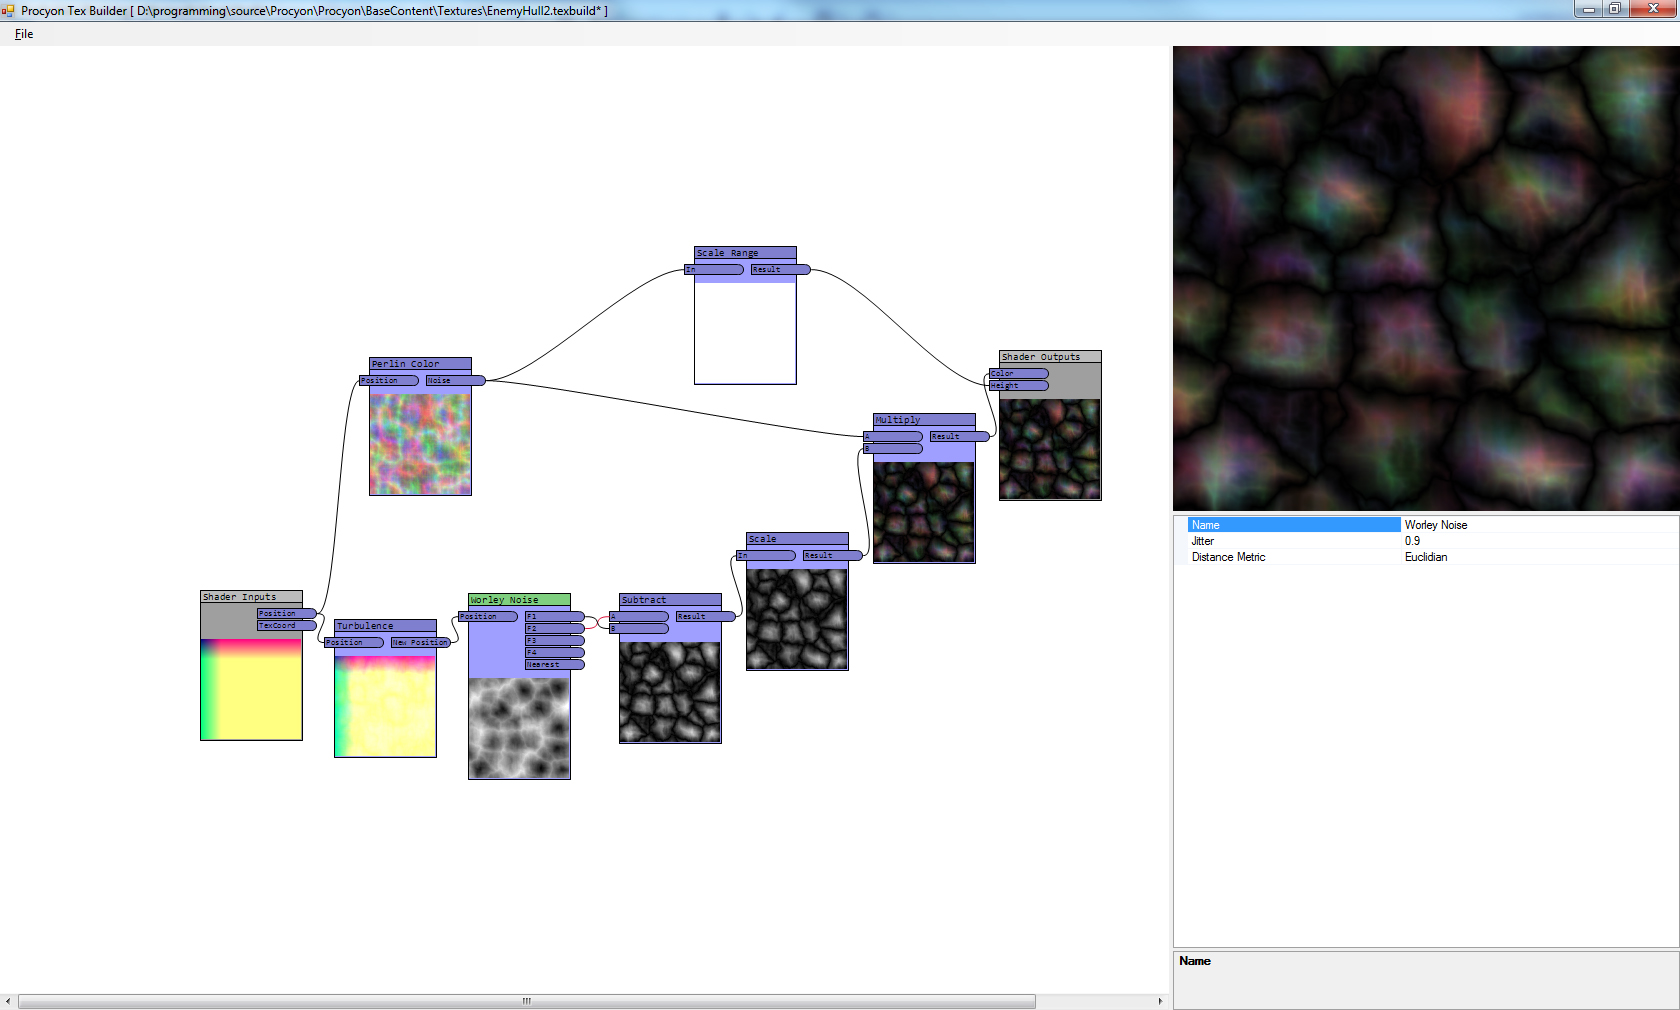
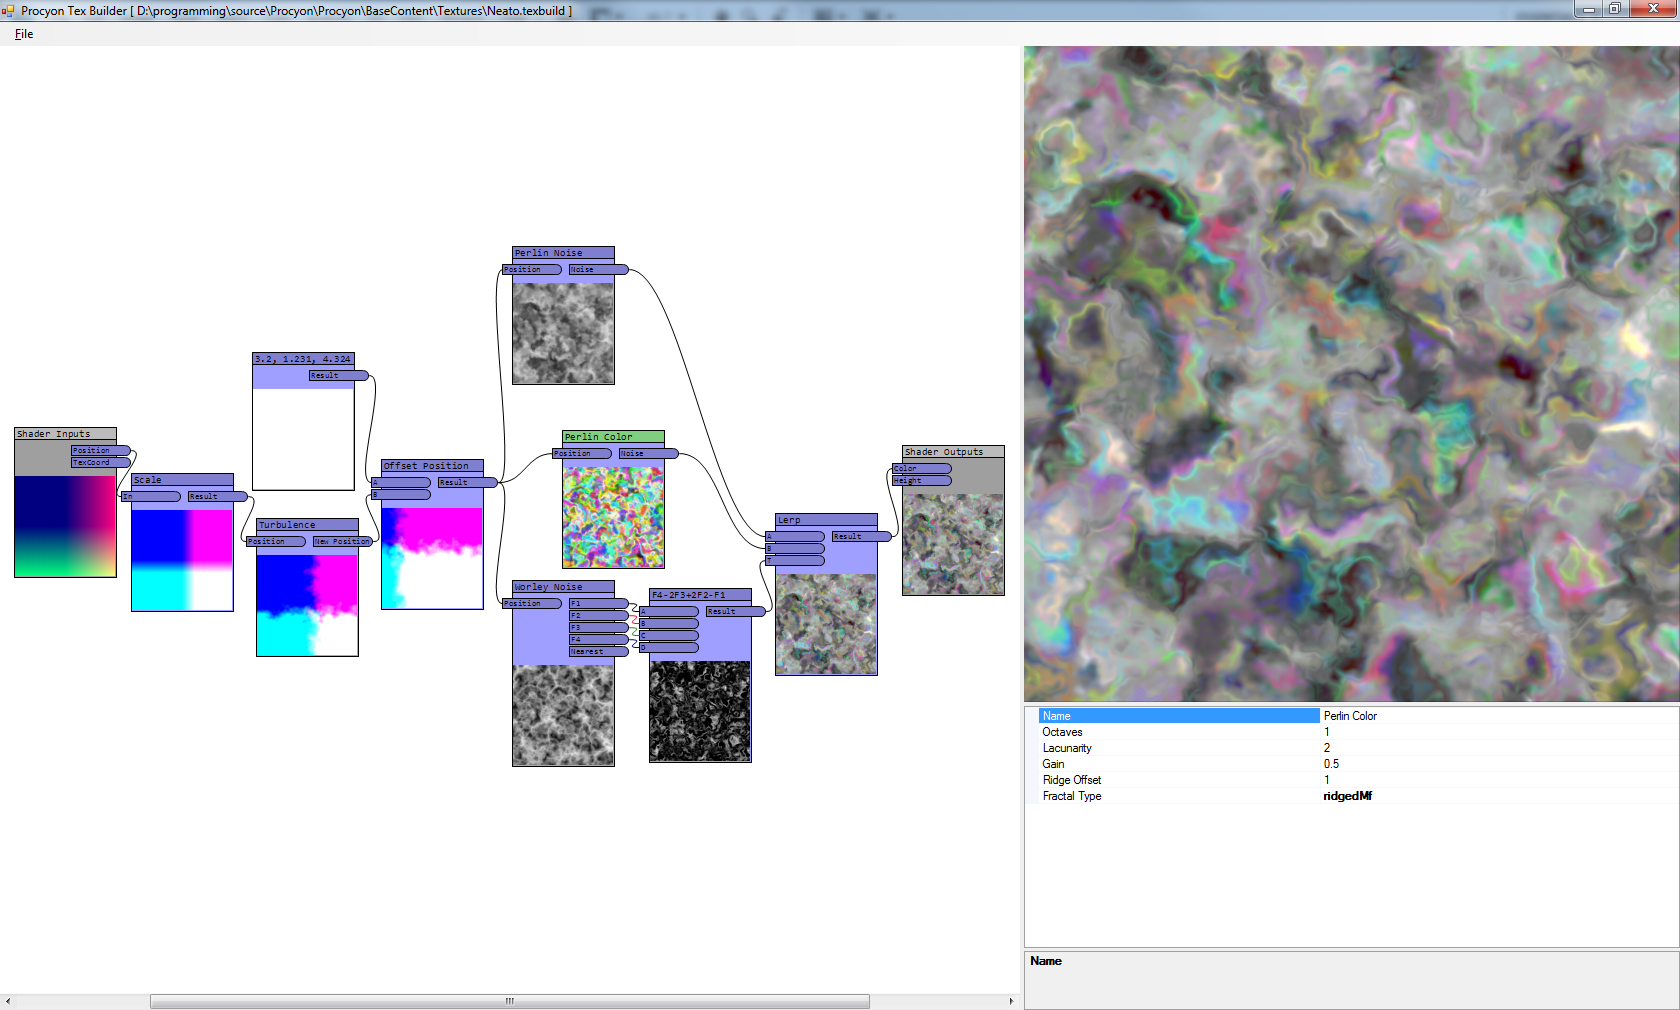
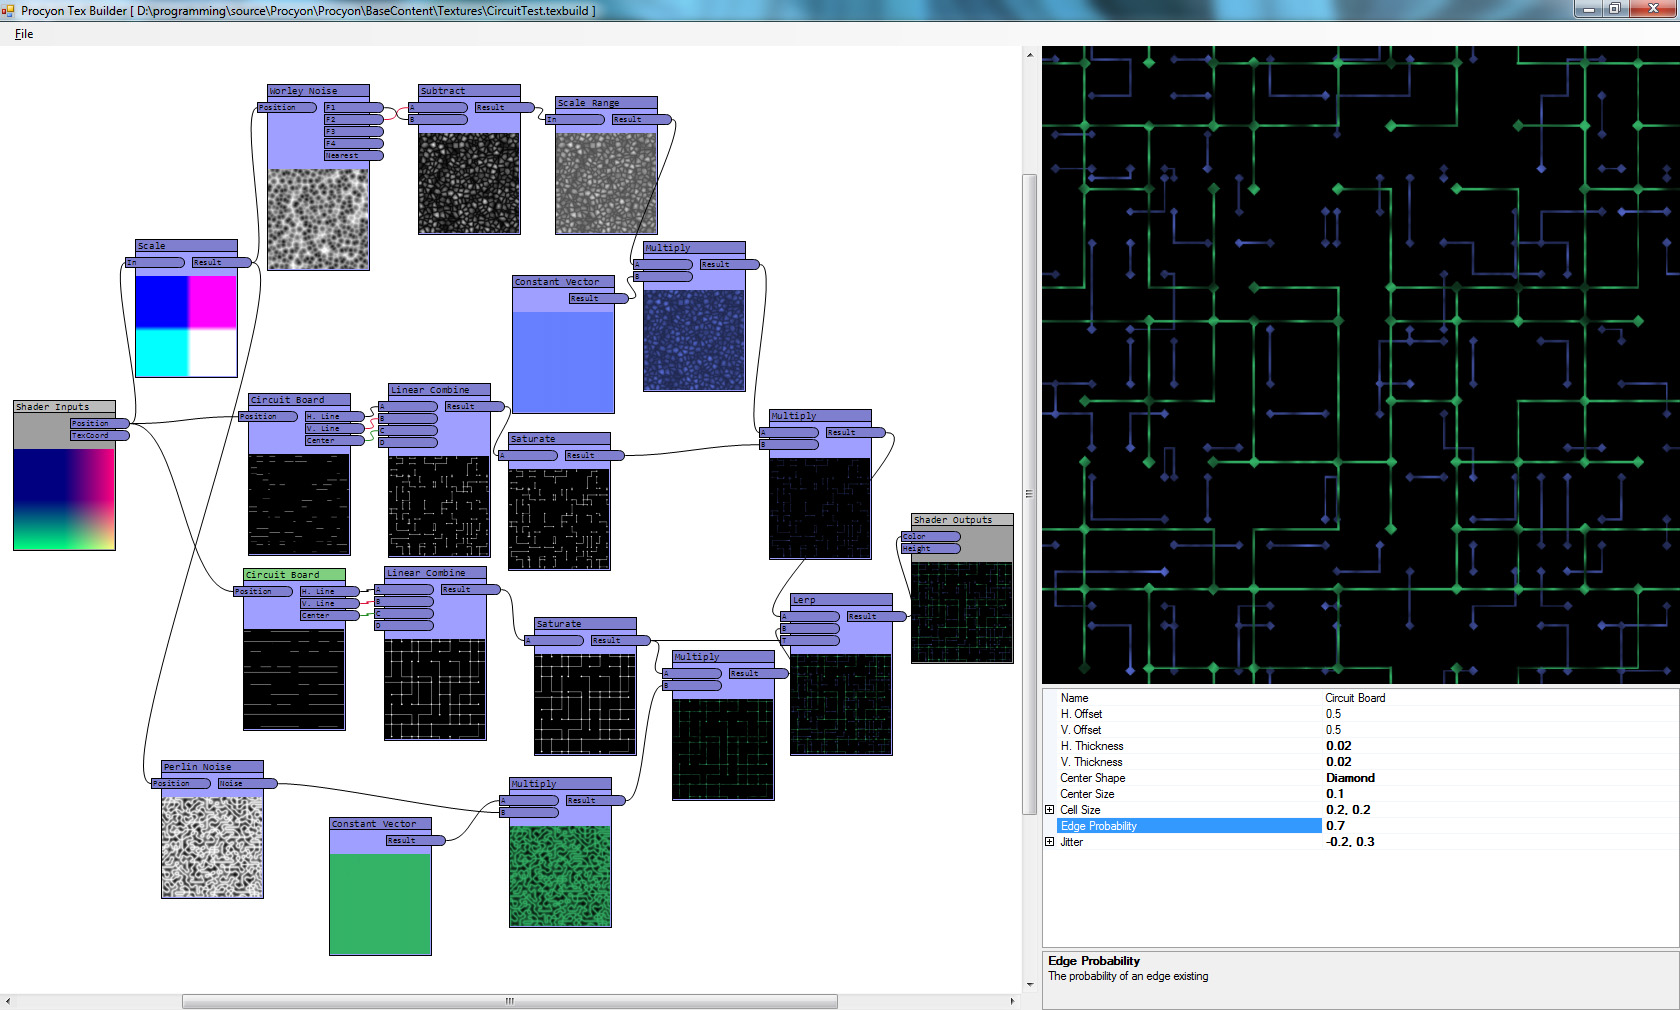
The big thing I’ve done, though, was put together a tool that will generate the HLSL required for my GPU-generated textures, so that I didn’t have to constantly tweak HLSL, rebuild my project, reload, etc. Now I can see them straight in an editor (though not, yet, on the meshes themselves – that is on my list of things to do still). It looks basically like this:
The basic idea is, I have a snippet of HLSL, something that looks roughly like:Name: Brick
Func: Brick
Category: Basis Functions
Input: Position, var="position"
Output: Result, var="brickOut"
Output: Brick ID, var="brickId"
Property: Brick Size, var="brickSize", type="float2", description="The width and height of an individual brick", default="3,1"
Property: Brick Percent, var="brickPct", type="float", description="The percentage of the range that is brick (vs. mortar)", default="0.9"
Property: Brick Offset, var="brickOffset", type="float", description="The horizontal offset of the brick rows.", default="0.5"
%%
float2 id;
brickOut = brick(position.xy, brickSize, brickPct, brickOffset, id);
brickId = id.xyxy;
Above the “%%” is information on how it interacts with the editor, what the output names are (and which vars in the code they correspond to), and what the inputs and properties are.
Inputs are inputs on the actual graph, from previous snippets. Properties, by comparison, are what show up on the property grid. I simplified the inputs/outputs by making them always be float4s, which made the shaders really easy to generate.
Then, there’s a template file that is filled in with the generated data. In this case, the template uses some structure I had in place for the hand-written ones. The input and output nodes in the graph are based on data from this template, as well. In my case, the inputs are position and texture coordinates, and the outputs are color and height (for normal mapping).
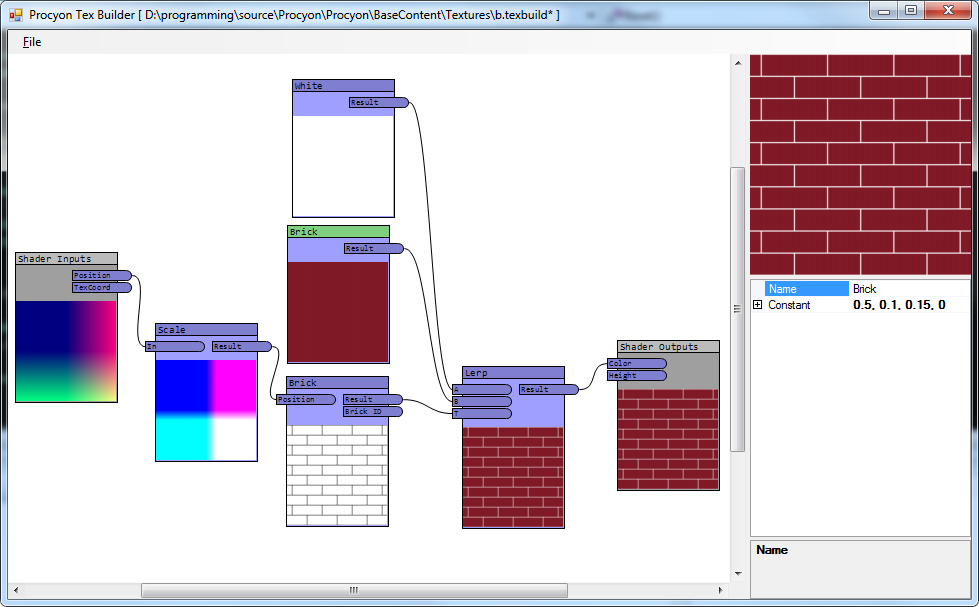
So a simple graph like this:
…would, once generated, be HLSL that looks like this:
#include "headers/baseshadersheader.fxh"

void FuncConstantVector(float4 constant, out float4 result)
{
 result = constant;
}

void FuncScale(float4 a, float factor, out float4 result)
{
 result = a*factor;
}

void FuncBrick(float4 position, float2 brickSize, float brickPct, float brickOffset, out float4 brickOut, out float4 brickId)
{
 float2 id;
 brickOut = brick(position.xy, brickSize, brickPct, brickOffset, id);
 brickId = id.xyxy;
}

void FuncLerp(float4 a, float4 b, float4 t, out float4 result)
{
 result = lerp(a, b, t.x);

}

void ProceduralTexture(float3 positionIn, float2 texCoordIn, out float4 colorOut, out float heightOut)
{
 float4 position = float4(positionIn, 1);
 float4 texCoord = float4(texCoordIn, 0, 0);

 float4 generated_result_0 = float4(0,0,0,0);
 FuncConstantVector(float4(1, 1, 1, 1), generated_result_0);

 float4 generated_result_1 = float4(0,0,0,0);
 FuncConstantVector(float4(0.5, 0.1, 0.15, 0), generated_result_1);

 float4 generated_result_2 = float4(0,0,0,0);
 FuncScale(position, float(5), generated_result_2);

 float4 generated_brickOut_0 = float4(0,0,0,0);
 float4 generated_brickId_0 = float4(0,0,0,0);
 FuncBrick(generated_result_2, float2(3, 1), float(0.9), float(0.5), generated_brickOut_0, generated_brickId_0);

 float4 generated_result_3 = float4(0,0,0,0);
 FuncLerp(generated_result_0, generated_result_1, generated_brickOut_0, generated_result_3);

 float4 color = generated_result_3;
 float4 height = float4(0,0,0,0);

 colorOut = color.xyzw;
 heightOut = height.x;
}

#include "headers/baseshaders.fxh"
Essentially, each snippet becomes a function (and again, if you look at FuncBrick compared to the brick snippet from earlier, you can see that the input comes first (and is a float4), the properties come next (With types based on the snippet’s declaration), followed finally by the outputs. Once each function is in place, the shader itself (in this case, the actual shader is inside of headers/baseshaders.fxh included at the end, but that simply calls the ProceduralTexture function just before that) calls each function in the graph, storing the results in unique values, and passes those into the appropriate functions later down the line.
More Content
In addition to all of that, I have also completed the first draft of level 2’s enemy layout (including the level’s new enemy type), and am working on the boss of the level:
Once I finish the boss of level 2, I’ll start on level 3’s gameplay (and boss). Once those are done and playable, I’ll start adding the actual backgrounds into them (instead of them being a simple, static starfield).
Bug Tracking
Finally, I’ve started an actual bug tracking setup, based on the easy-to-use Flyspray, which I highly recommend for a quick, easy-to-setup web-based bug/feature tracking thing.
In the case of the database I have, I’ve linked to the roadmap, which is the list of the things that have to be done at certain stages. I am going to try, this year, to submit my game for the PAX 10 this year, so I have my list of what must be done to have a demo ready (the “PAX Demo” version), and the things that, additionally, I’d really like to have ready (the “PAX Demo Plus” version). Then, of course, there’s “Feature Complete”, which is currently mostly full of high-level work items (like “Finish all remaining levels” which is actually quite a huge thing) that need to be done before the game is in a fully-playable beta stage.
In short: I’m still cranking away at my game, just more slowly than I’d like.
