Lightning Bolts
You’re flying your ship down a cavern, dodging and weaving through enemy fire. It’s becoming rapidly apparent, however, that you’re outmatched. So, desperate to survive, you flip The Switch. Yes, that switch. The one that you reserve for those…special occasions. Your ship charges up and releases bolt after deadly bolt of lightning into your opponents, devastating the entire enemy fleet.
At least, that’s the plan.
But how do you, the game developer, RENDER such an effect?
Lightning Is Fractally Right
As it turns out, generating lightning between two endpoints can be a deceptively simple thing to generate. It can be generated as an L-System (with some randomization per generation). Some simple pseudo-code follows: (note that this code, and really everything in this article, is geared towards generating 2D bolts; in general, that’s all you should need…in 3D, simply generate a bolt such that it’s offset relative to the camera’s view plane. Or you can do the offsets in the full three dimensions, it’s your choice)
segmentList.Add(new Segment(startPoint, endPoint));
offsetAmount = maximumOffset; // the maximum amount to offset a lightning vertex.
for each generation (some number of generations)
  for each segment that was in segmentList when this generation started
    segmentList.Remove(segment); // This segment is no longer necessary.

    midPoint = Average(startpoint, endPoint);
    // Offset the midpoint by a random amount along the normal.
    midPoint += Perpendicular(Normalize(endPoint-startPoint))*RandomFloat(-offsetAmount,offsetAmount);

    // Create two new segments that span from the start point to the end point,
    // but with the new (randomly-offset) midpoint.
    segmentList.Add(new Segment(startPoint, midPoint));
    segmentList.Add(new Segment(midPoint, endPoint));
  end for
  offsetAmount /= 2; // Each subsequent generation offsets at max half as much as the generation before.
end for
Essentially, on each generation, subdivide each line segment into two, and offset the new point a little bit. Each generation has half of the offset that the previous had.
So, for 5 generations, you would get:
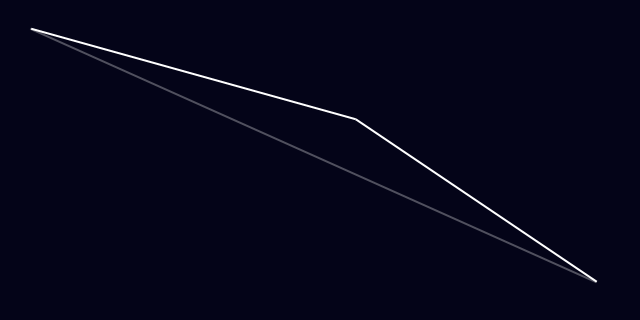



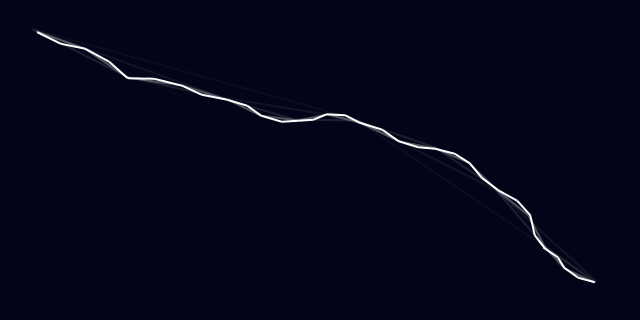
That’s not bad. Already, it looks at least kinda like lightning. It has about the right shape. However, lightning frequently has branches: offshoots that go off in other directions.
To do this, occasionally when you split a bolt segment, instead of just adding two segments (one for each side of the split), you actually add three. The third segment just continues in roughly the first segment’s direction (with some randomization thrown in)
direction = midPoint - startPoint;
splitEnd = Rotate(direction, randomSmallAngle)*lengthScale + midPoint; // lengthScale is, for best results, < 1.  0.7 is a good value.
segmentList.Add(new Segment(midPoint, splitEnd));
Then, in subsequent generations, this, too, will get divided. It’s also a good idea to make these splits dimmer. Only the main lightning bolt should look fully-bright, as it’s the only one that actually connects to the target.
Using the same divisions as above (and using every other division), it looks like this:
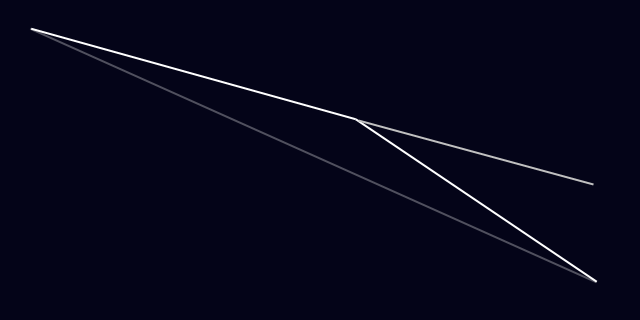
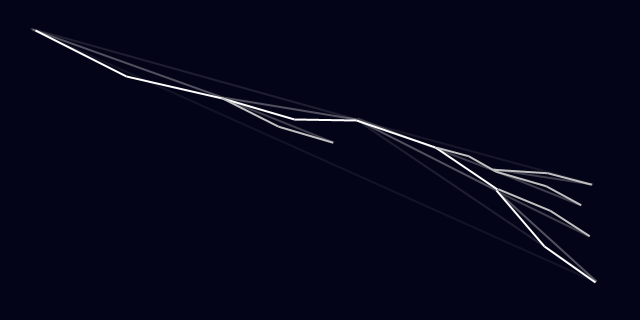
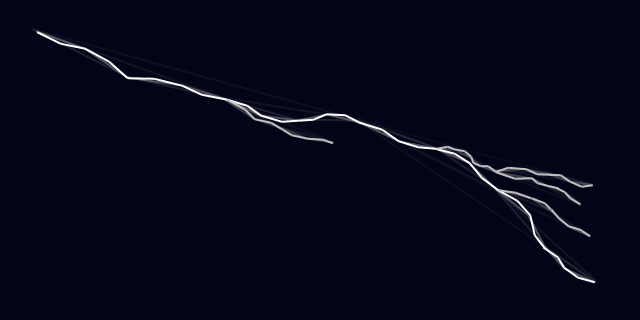
Now that looks a little more like lightning! Well…at least the shape of it. But what about the rest?
Adding Some Glow
Initially, the system designed for Procyon used rounded beams. Each segment of the lightning bolt was rendered using three quads, each with a glow texture applied (to make it look like a rounded-off line). The rounded edges overlapped, creating joints. This looked pretty good:
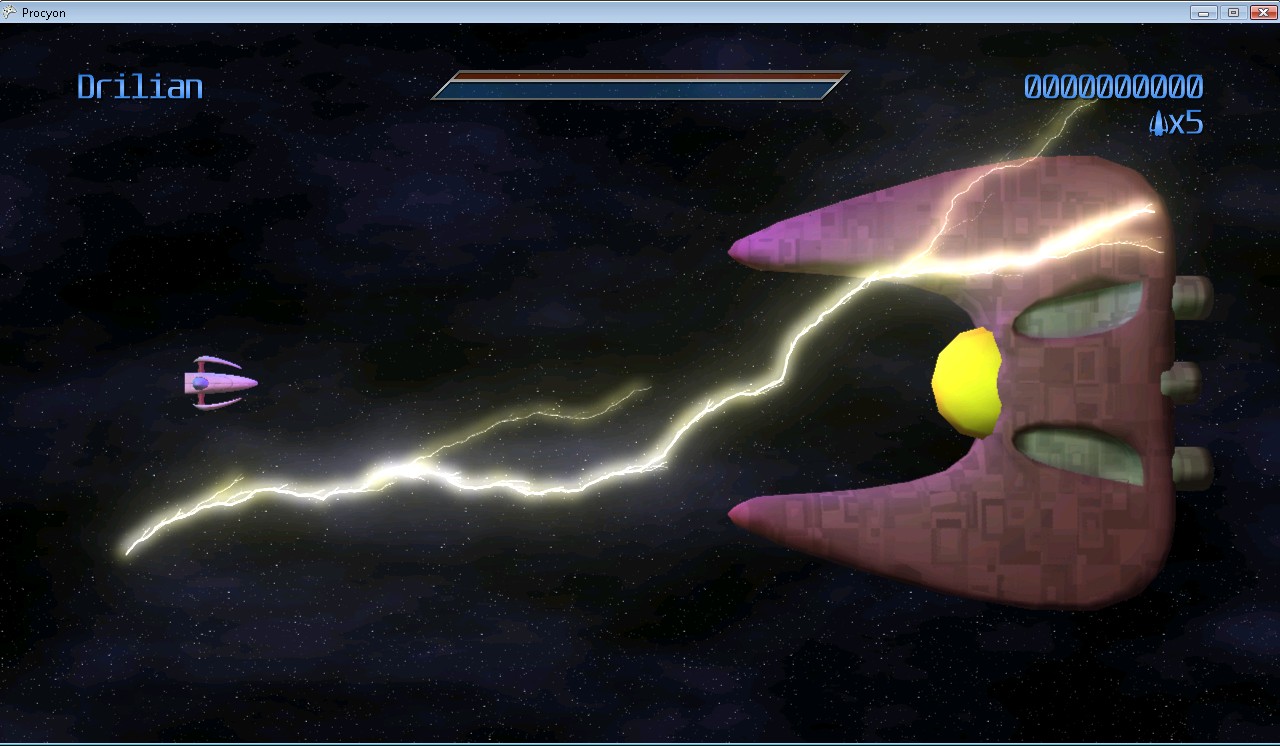
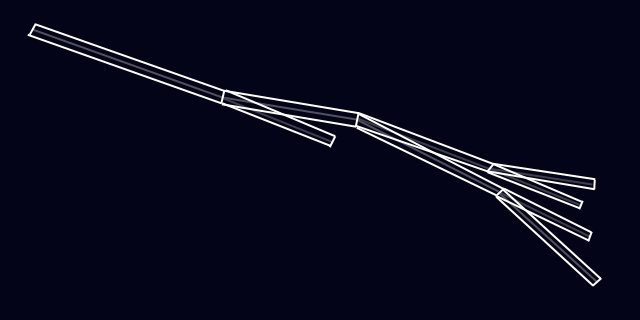
…but as you can see, it tended to get quite bright. It only got brighter, too, as the bolt got smaller (and the overlaps got closer together). Trying to draw it dimmer presented additional problems: the overlaps became suddenly VERY noticeable, as little dots along the length of the bolt. Obviously, this just wouldn’t do. If you have the luxury of rendering the lightning to an offscreen buffer, you can render the bolts using max blending (D3DBLENDOP_MAX) to the offscreen buffer, then just blend that onto the main scene to avoid this problem. If you don’t have this luxury, you can create a vertex strip out of the lightning bolt by creating two vertices for each generated lighting point, and moving each of them along the 2D vertex normals (normals are perpendicular to the average of the directions two line segments that meet at the current vertex).
That is, you get something like this:
Animation
This is the fun part. How do you animate such a beast?
As with many things in computer graphics, it requires a lot of tweaking. What I found to be useful is as follows:
Each bolt is actually TWO bolts at a time. In this case every 1/3rd of a second, one of the bolts expires, but each bolt’s cycle is 1/6th of a second off. That is, at 60 frames per second:
- Frame 0: Bolt1 generated at full brightness
- Frame 10: Bolt1 is now at half brightness, Bolt2 is generated at full brightness
- Frame 20: A new Bolt1 is generated at full, Bolt2 is now at half brightness
- Frame 30: A new Bolt2 is generated at full, Bolt1 is now at half brightness
- Frame 40: A new Bolt1 is generated at full, Bolt2 is now at half brightness
- Etc…
Basically, they alternate. Of course, just having static bolts fading out doesn’t work very well, so every frame it can be useful to jitter each point just a tiny bit (it looks fairly cool to jitter the split endpoints even more than that, it makes the whole thing look more dynamic). This gives:
And, of course, you can move the endpoints around…say, if you happen to have your lightning targetting some moving enemies:
So that’s it! Lightning isn’t terribly difficult to render, and it can look super-cool when it’s all complete.
