Here it is: another late-week journal update that pretty much chronicles my weekend accomplishments, only later.
But First, Beams!
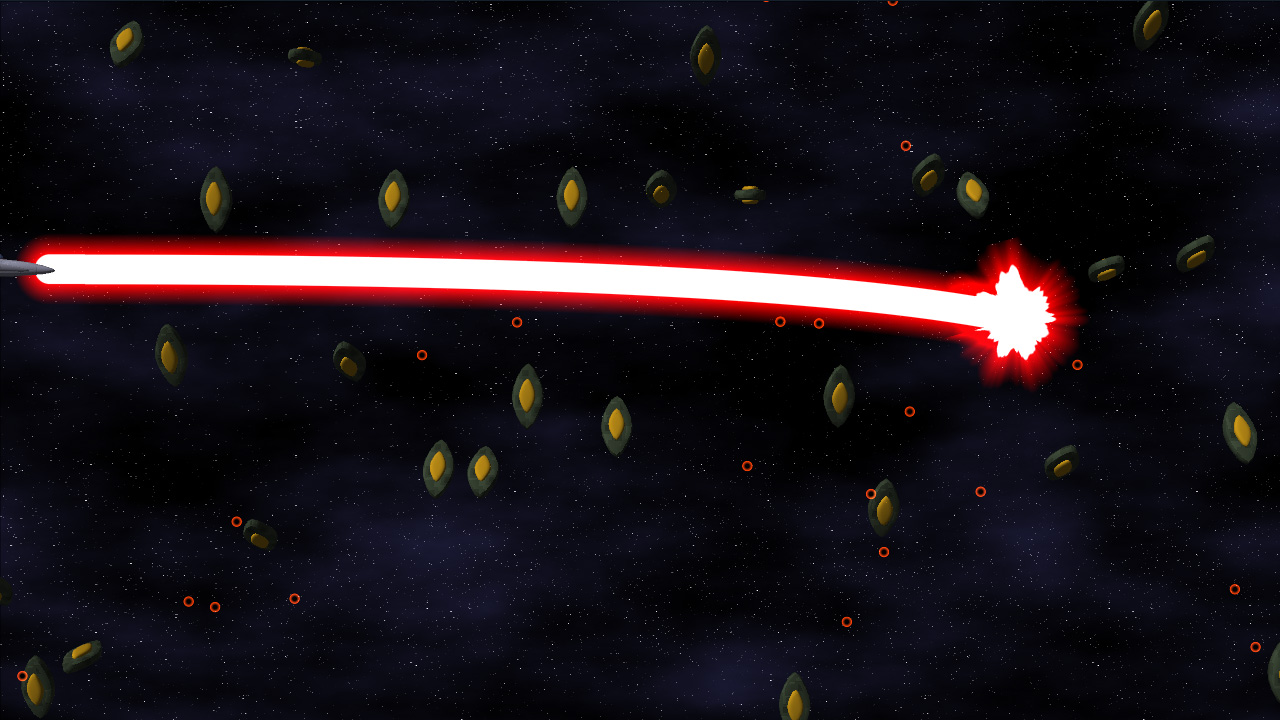
First up, here’s a preview of the powered-up version of the final main weapon for the project:
Click to enlarge
The beam itself actually locks on to targets and continually damages them. Implementation-wise, it’s a quadratic bezier. Initially, I tried to calculate the intersection of a quadratic-bezier-swept sphere (i.e. a thick bezier curve) and a bounding sphere exactly. That’s all great, only it becomes a quartic equation (ax^4 + bx^3 + cx^2 + dx + e == 0), which is ridiculously difficult to compute programmatically (just check the javascript source on this page to see what I mean). So I opted for another solution:
I divided the curve up into a bunch of line segments, treated those segments as sphere-capped cylinders (capsules), and did much simpler intersection tests. PROBLEM SOLVED!
When Is Deferred Shading Not Deferred Shading?
I also implemented Light Pre-Pass Rendering, which is sort of a “Low-Calorie Deferred Shading” that Wolfgang Engel devised recently. Considering my original plan for lighting was to only allow right around 3 lights on-screen at a time, this gives me a much greater range of functionality. It’s a three-step process, as illustrated below.
Render Object Normals (Cut a hole in a box)
Step 1: render all of the objects’ normals and depth to a texture. Due to limitations that are either related to XNA or the fact that I want to allow a multisampled buffer, I’m not sure which, I can’t read from the depth buffer, so I have to render the object depth into the same texture that the normal map is rendering into.
Given two normal components, you can reconstruct the third (because the normal’s length is one). Generally, Z is used on the assumption that the Z component of the normal is always pointing towards the screen. However, with bump mapping (and even vertex normals), this is not a valid assumption. So just having the X and Y normal components is not enough. I decided to steal a bit from the blue channel to store the SIGN of the Z component. This leaves me with 15 bits of Z data, which, given the very limited (near-2D) range of important objects in the scene, is more than plenty for the lighting (as tested by the ugly-yet-useful “Learning to Love Your Z-Buffer” page).
Consequently, the HLSL code to pack and unpack the normals and depth looks like this:
float4 PackDepthNormal(float Z, float3 normal)
{
  float4 output;

  // High depth (currently in the 0..127 range
  Z = saturate(Z);
  output.z = floor(Z*127);

  // Low depth 0..1
  output.w = frac(Z*127);

  // Normal (xy)
  output.xy = normal.xy*.5+.5;

  // Encode sign of 0 in upper portion of high Z
  if(normal.z < 0)
    output.z += 128;

  // Convert to 0..1
  output.z /= 255;

  return output;
}

void UnpackDepthNormal(float4 input, out float Z, out float3 normal)
{
  // Read in the normal xy
  normal.xy = input.xy*2-1;

  // Compute the (unsigned) z normal
  normal.z = 1.0 - sqrt(dot(normal.xy, normal.xy));
  float hiDepth = input.z*255;

  // Check the sign of the z normal component
  if(hiDepth >= 128)
  {
    normal.z = -normal.z;
    hiDepth -= 128;
  }

  Z = (hiDepth + input.w)/127.0;;
}
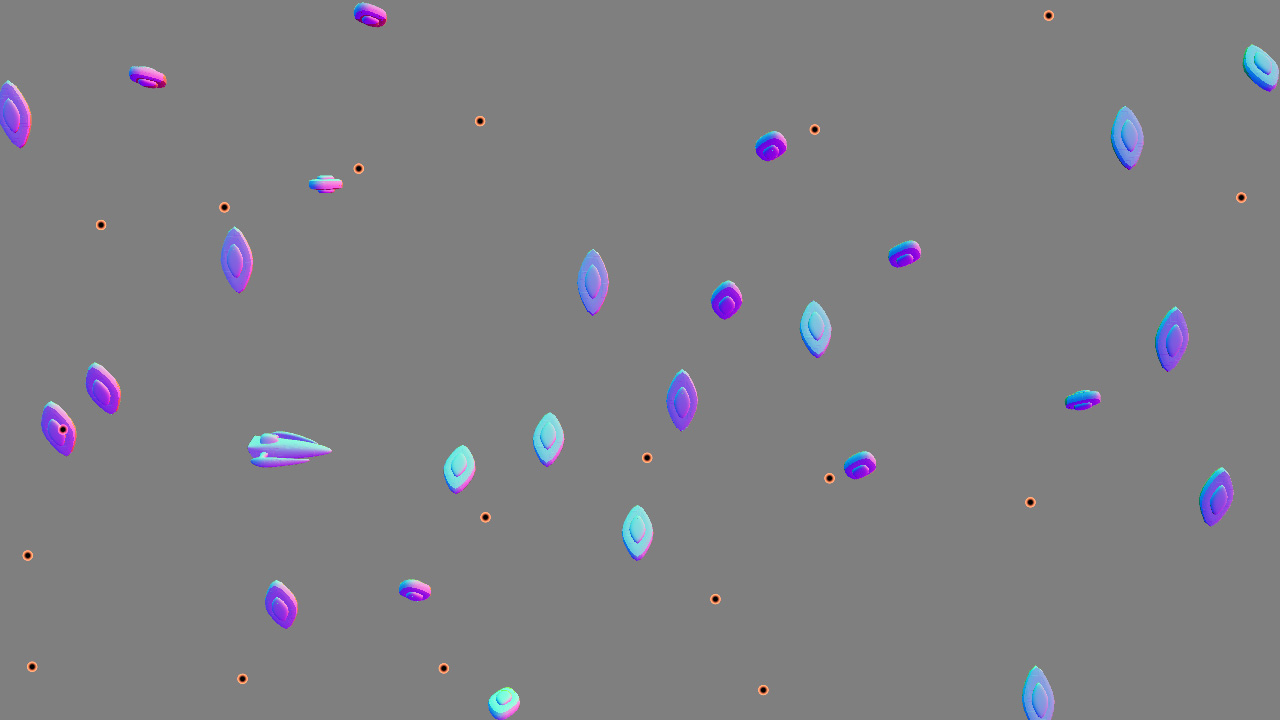
And, it generates the following data:
Click to enlarge
That’s the normal/depth texture (alpha not visualized) for the scene. The normals are in world-space (converting from the stored non-linear Z to world position using the texcoords is basically a multiply by the inverse of the viewProjection matrix, a very simple operation).
Render Pure Lighting (Put your junk in that box)
Next step, using that texture (the object normals and positions), you can render the lights as a screen-space pass very inexpensively (the cost of a light no longer has anything to do with the number of objects it’s shining on, it’s now simply a function of number of pixels it draws on). Bonus points: you can use a variation on instancing to render a bunch of lights of a similar type (i.e. a group of point lights) in a single pass, decreasing the cost-per-light even further.
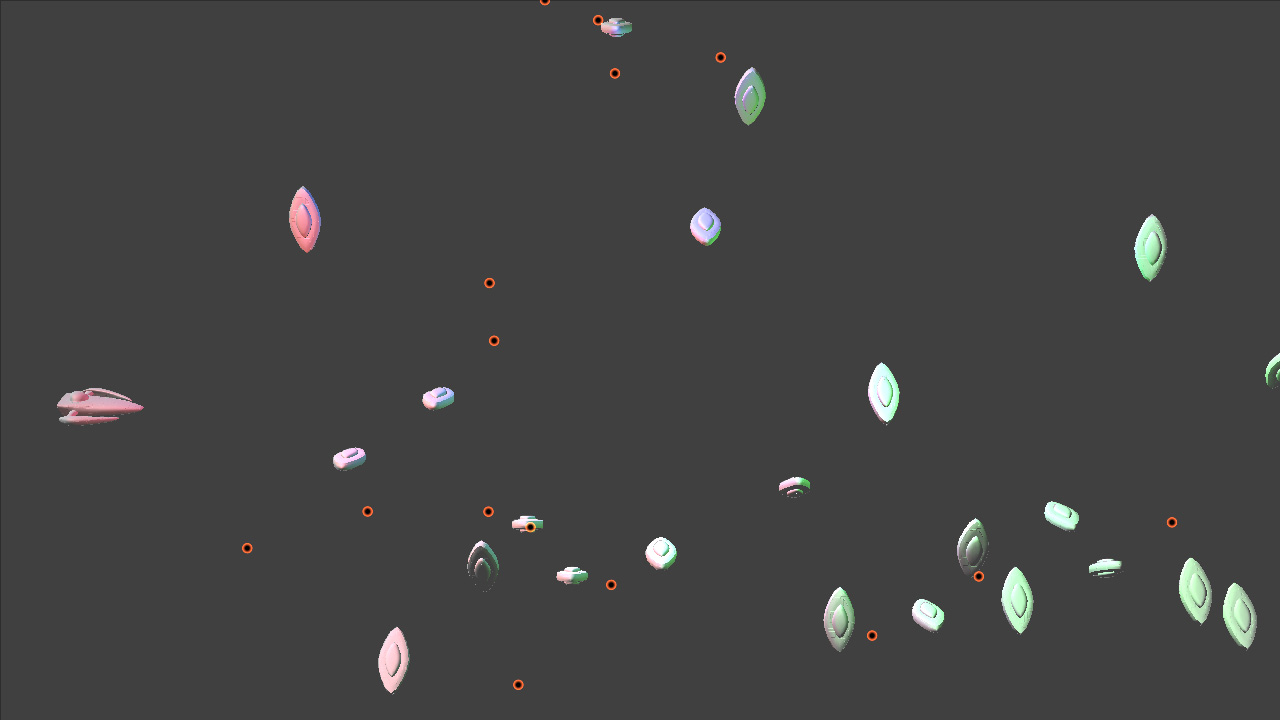
The lighting data (pure diffuse lighting, in my case, though this operation can be modified in a number of ways to do more material lighting types and/or specular lighting if necessary, especially if you have a separate depth texture) is rendered into another texture, and it ends up looking as follows:
Click to enlarge
That’s a render with three small point lights (red, green and blue in different areas of the screen) as well as a white directional light.
Render Objects With Materials (Make her open the box)
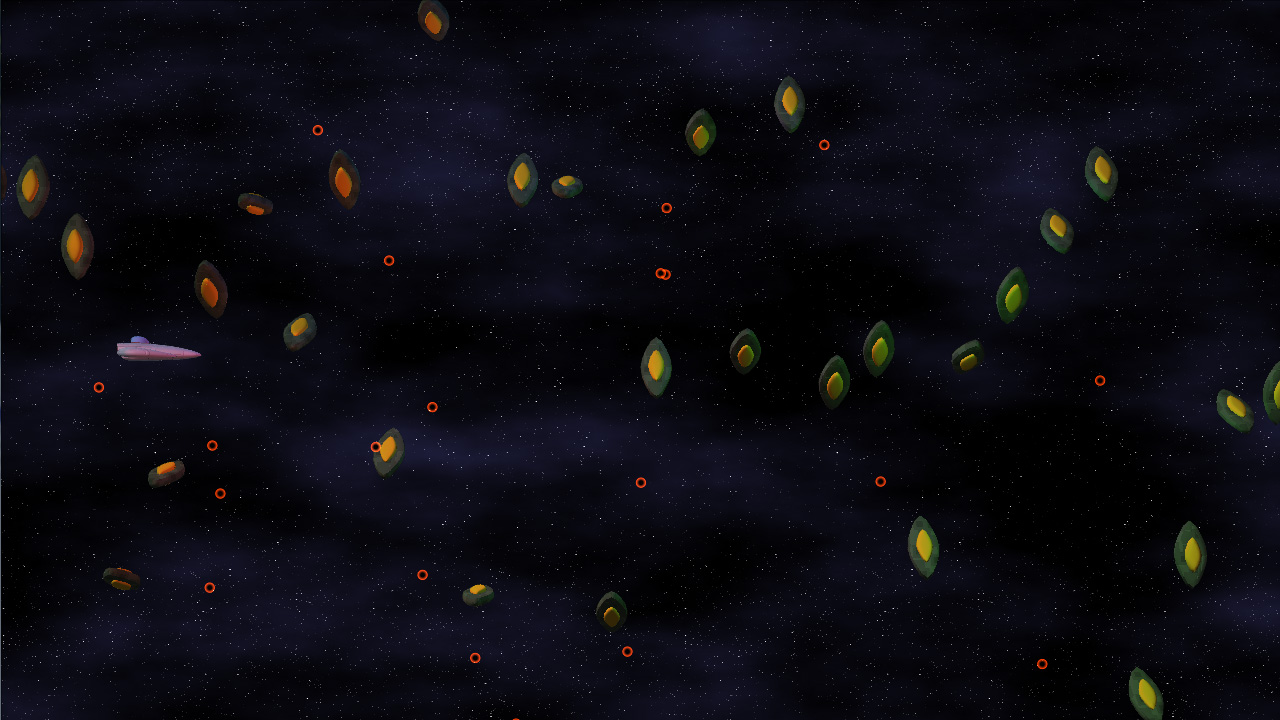
Finally, you render the objects again, only this time you render them with materials (diffuse texture, etc). However, instead of doing any lighting calculations at this time, you load them from the texture rendered in step 2.
This ends up looking like this (pretty much what you expect from a final render):
Click to enlarge
And that’s how light pre-pass rendering works, in a nutshell. At least, it’s how it works in my case, which is very simplistic, but it’s all I need for the art style in my game. It’s a lot easier on the resources than deferred shading, while still separating the lighting from the objects.
Delicious!
Hopefully, in my next update, I’ll have an actual set of background objects (as that’s the next item on the list, but it does require the dreadful tooth-pulling that is “artwork,” so we’ll see how quickly I can pull this together.
Until next time: Never give up, never surrender!